Other Devices and Accessories
MicroSD Memory Card
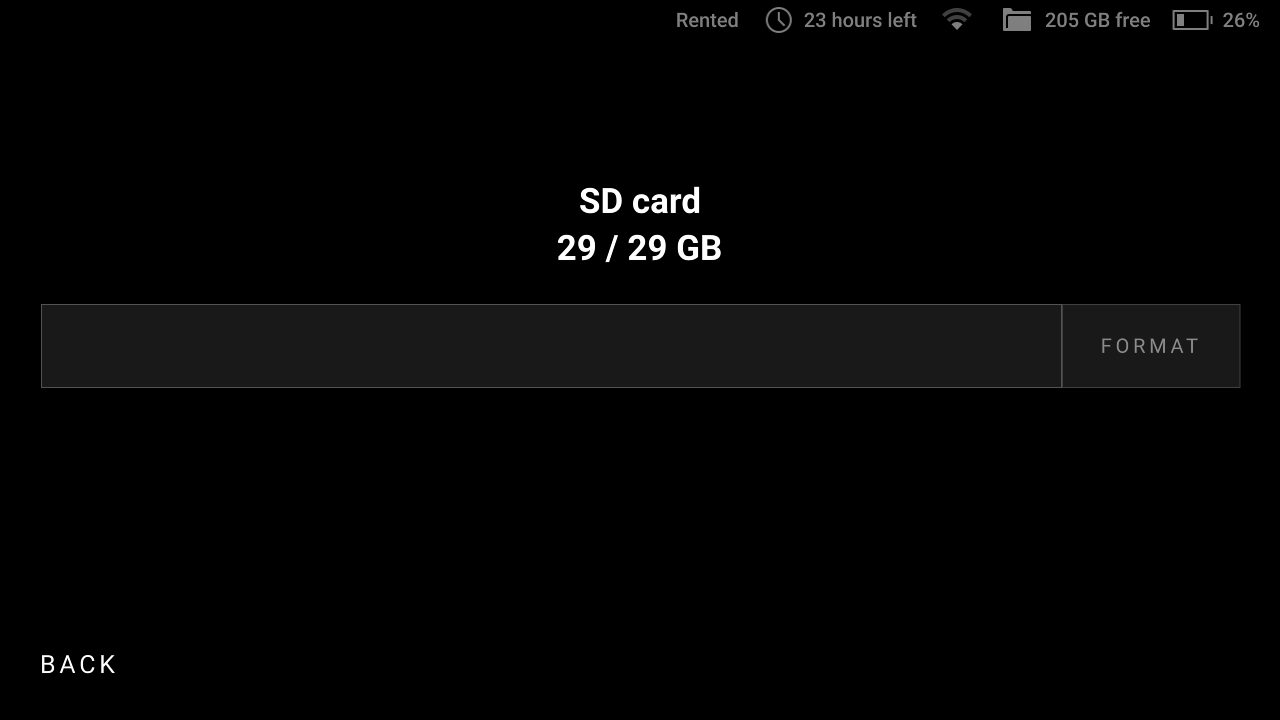
To transfer you projects to a computer, you may want to use a microSD card. Artec Leo supports microSD cards (both SDHC and SDXC) with capacity up to 2 TB featuring UHS-I and UHS-II interfaces and formatted as exFaT.
Insert Card
To insert a microSD card, push it into the slot until you hear a click.

Caution
Never use excessive force when inserting a microSD card into the slot. If you feel resistance, please double check that you are pushing the card using the correct side (see the figure above).
Important
The warranty doesn’t cover slots damaged in this way.
Export to Multiple Cards
Artec Leo enables you to export projects to multiple microSD cards. This is particularly time saving when you want to transfer multiple or large scans, and you do not have a microSD card with that much storage capacity. After inserting one card, you can select all the items at once and tap Copy to SD. When the microSD card is full, Leo prompts you to remove the card and insert a new one, and automatically continues copying the remaining items to the new card.
Encrypt Projects to Export
To ensure security of HD scan data, Leo enables you to encrypt your projects before exporting them to the external SD. To do so, turn on the Encrypt projects (AS16+) feature in Settings. After selecting projects, when you tap Copy to SD, Leo converts those projects into a new .leo format before exporting them to SD.
Note
The encrypted projects in .leo format are only compatible with Artec Studio version 16 and above.
Remove Card
To remove a microSD card:
Slightly push a microSD card until you hear a click. The card will pop up emerging half of its length.
Pull the card out of the slot.
External Display
Artec Leo allows to cast its screen to a browser. It means that you can have an additional display to observe a 3D scene. Another device needs to be connected to the same network as Leo scanner.
Note
Only screens with 3D content can be casted. To enable casting, you need to start scanning or open a project.
To cast your Leo screen, follow the steps:
In the Projects screen, tap Settings.
Select the Network section.
Turn on the Cast screen to browser toggle.
Locate the scanner’s IP address that appears near the toggle.
Open a web browser on another device.
Type in the Leo’s IP address and confirm your entry.
On Leo, start scanning or open a project.
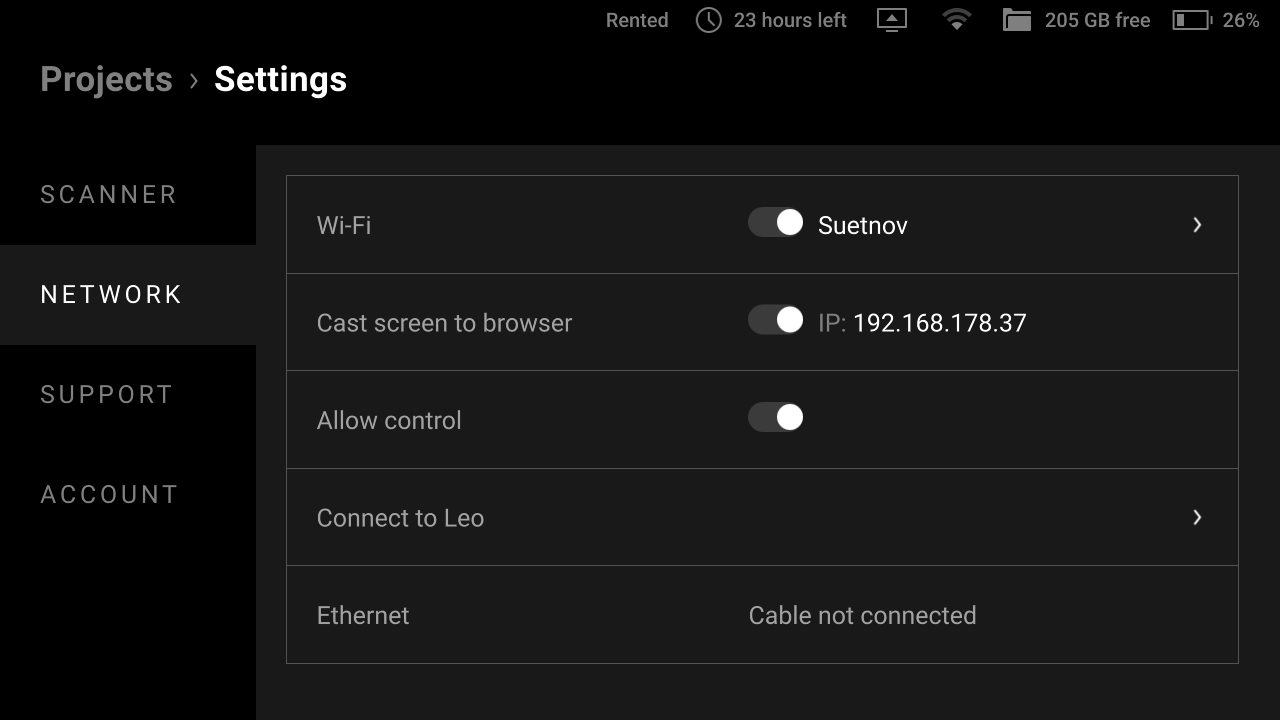
Figure 48 Screen casting settings.
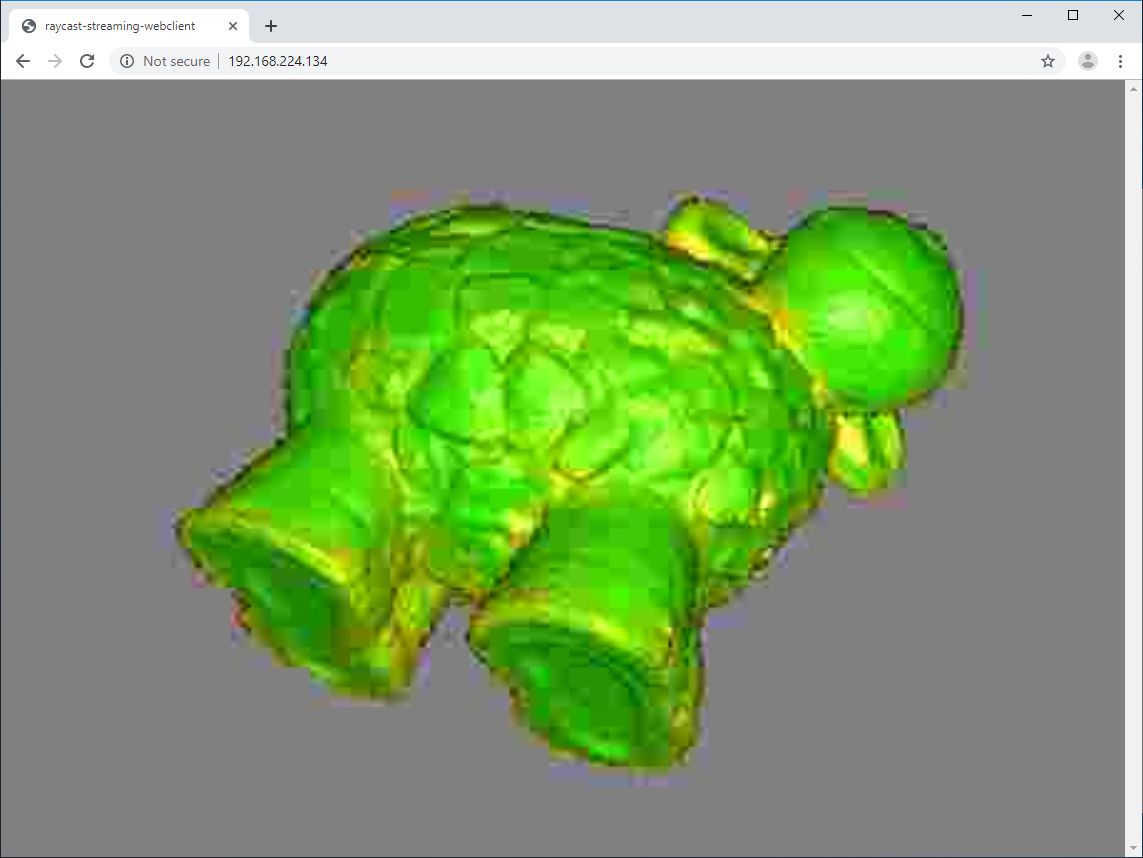
Figure 49 Browser window set to cast Leo screen.
Allow Control
Turn on Allow Control to control Leo through your browser. Artec Leo enables you to access and manage projects, upload targets and perform many other Leo operations on your browser.
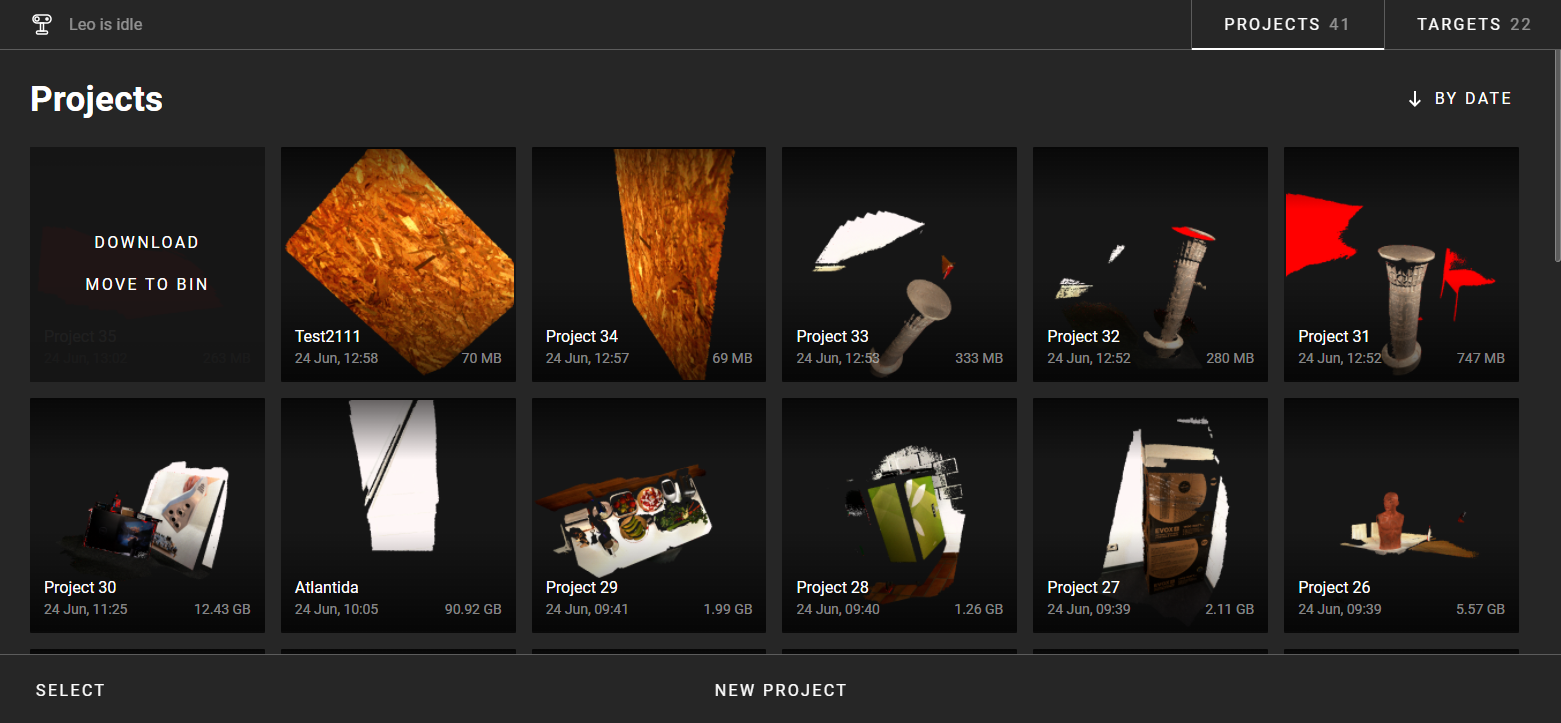
Figure 50 Browser window enabled to control Leo.
To manage Projects, click on the Projects tab on the upper right corner of your browser window. You will see all Leo projects displayed on your browser window.
You can add a New Project and rename a project by clicking on the respective control buttons.
You can start and add a new scan inside an existing project New scan. The browser window will display the buttons to control the scan process: Start, Stop and Close.
Hovering the cursor on each project will display the Download and Move to bin buttons.
To manage targets, click on the Targets tab on the upper right corner of your browser window. You will see all your target files and details there.
To upload a new target file, tap on Upload. Alternatively, you can drag and drop your target file from your computer.
Battery
Charge Battery
To charge your Leo battery, plug the power adapter into your scanner. You can also take out the battery from the scanner and charge it using the special charger.
See also
Replace Battery
Caution
Shut down your Leo before replacing its battery.
To remove the battery from Leo, follow the steps:
|
|
|
|
|
|
|
|
|
|
|
|
|


Calibration Board
All Artec Leo scanners are delivered pre-calibrated and issued with a calibration certificate (2022 onwards). It is however, possible to recalibrate Leo. See Calibration for detailed information.
The Leo Calibration board is especially designed for recalibrating Leo, and enables you to calibrate Leo in just a few steps.
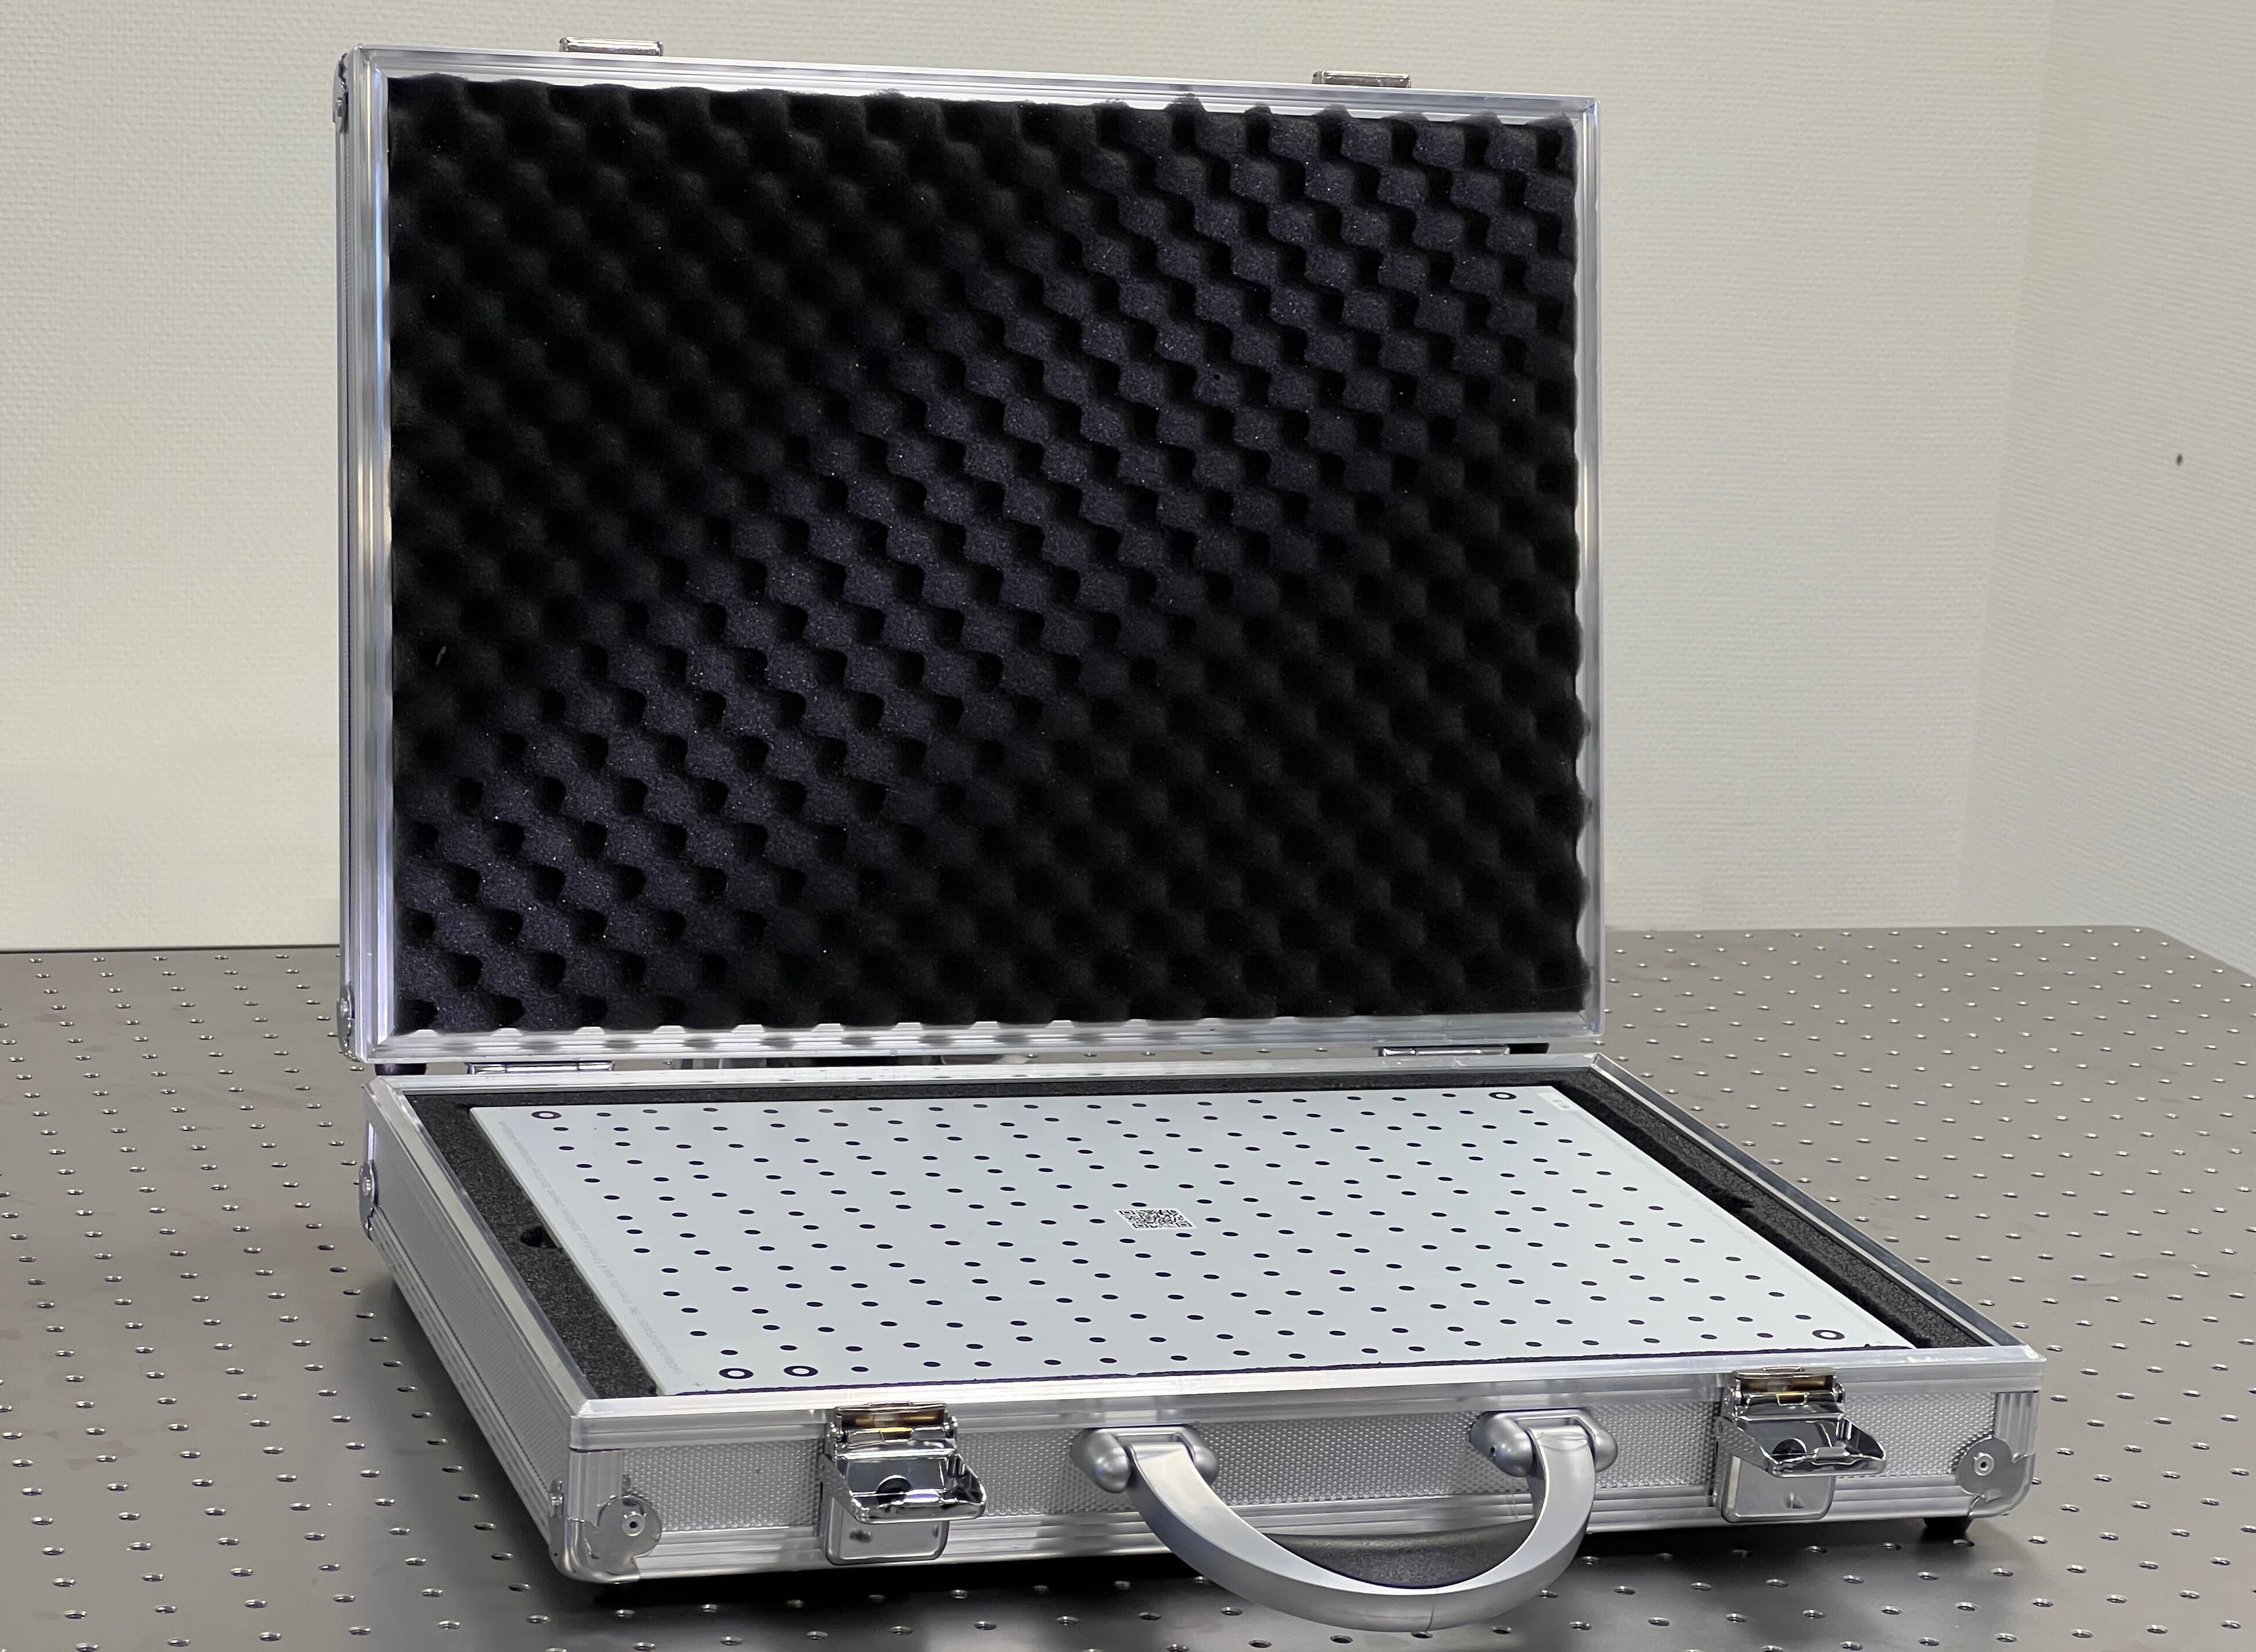
Figure 51 Leo’s Calibration board.