Setting Up
The sections below will help you to set up your Ray scanner.
Turn On Ray
The preparations before turning on the scanner vary by the intended application. Consult the appropriate tab below.
To control Ray via Artec Studio, follow these steps:
Mount Ray on a tripod.
Power up scanner (see Power Supply).
Insert the USB connector into the USB port as USB Connection prescribes.
Open the scanner door as shown in Battery Power Supply.
Pull the switch up. It will light up green when power is on.
To control Ray via Artec Remote or autonomously, follow these steps:
Mount Ray on a tripod.
Power up scanner (see Power Supply).
Unplug the USB connector from the USB port as Disconnecting Cables prescribes.
Open the scanner door as shown in Battery Power Supply.
Insert microSD card.
Pull the switch up. It will light up green when power is on.

See also
Install the appropriate software to fully work with the scanner.
Operating Modes
Ray can be used in the following modes:
Operating Mode |
Description |
|---|---|
The scanner is operated by external computer with Artec Studio software. |
|
The scanner is operated by external device (iOS or Android) with Artec Remote app |
|
Autonomous mode |
|
Depending on the required operating mode, proceed to prepare the scanner for operation.
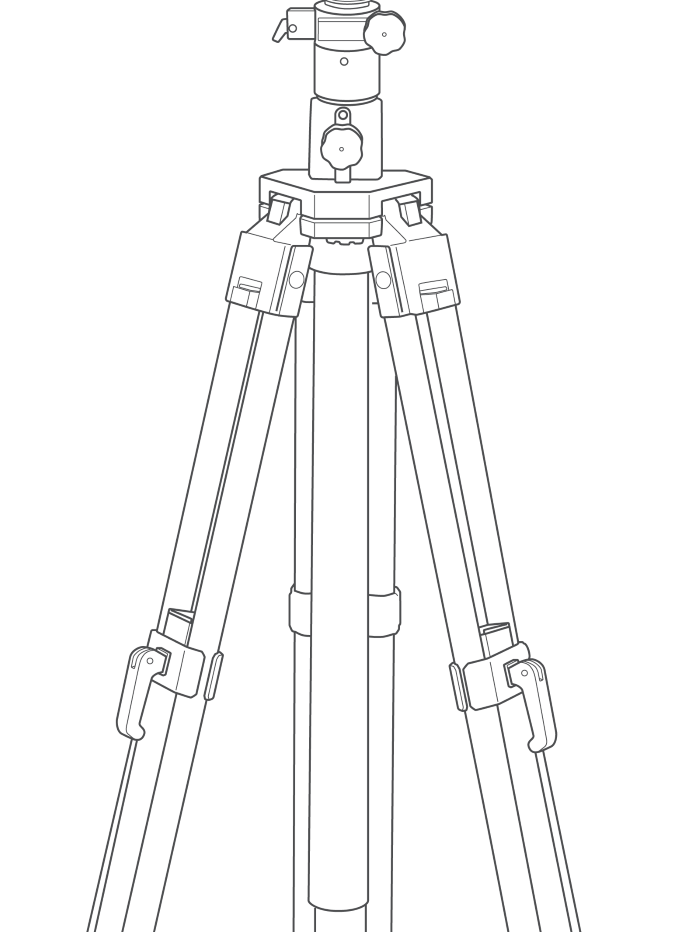
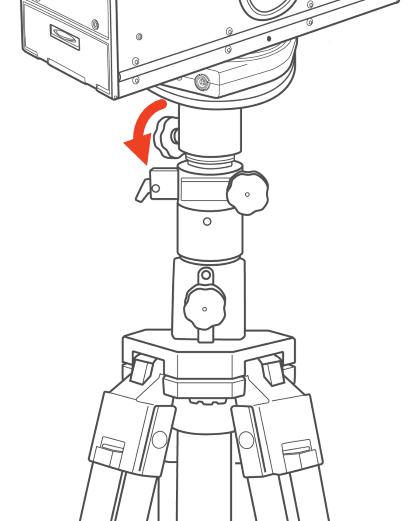
Installing Tripod and Adapters
Artec Ray has been designed to be used on a tripod. You can use any tripod with an adapter that has 5/8” screw to accommodate scanner.
|
|
|
|
|
|
|
|
|
|

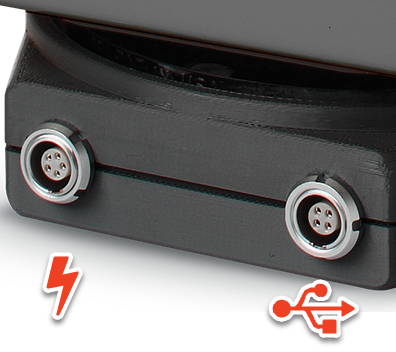
Power Supply
Ray can receive power from the either electrical grid or a battery.
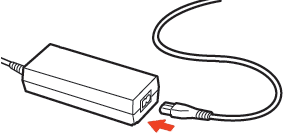
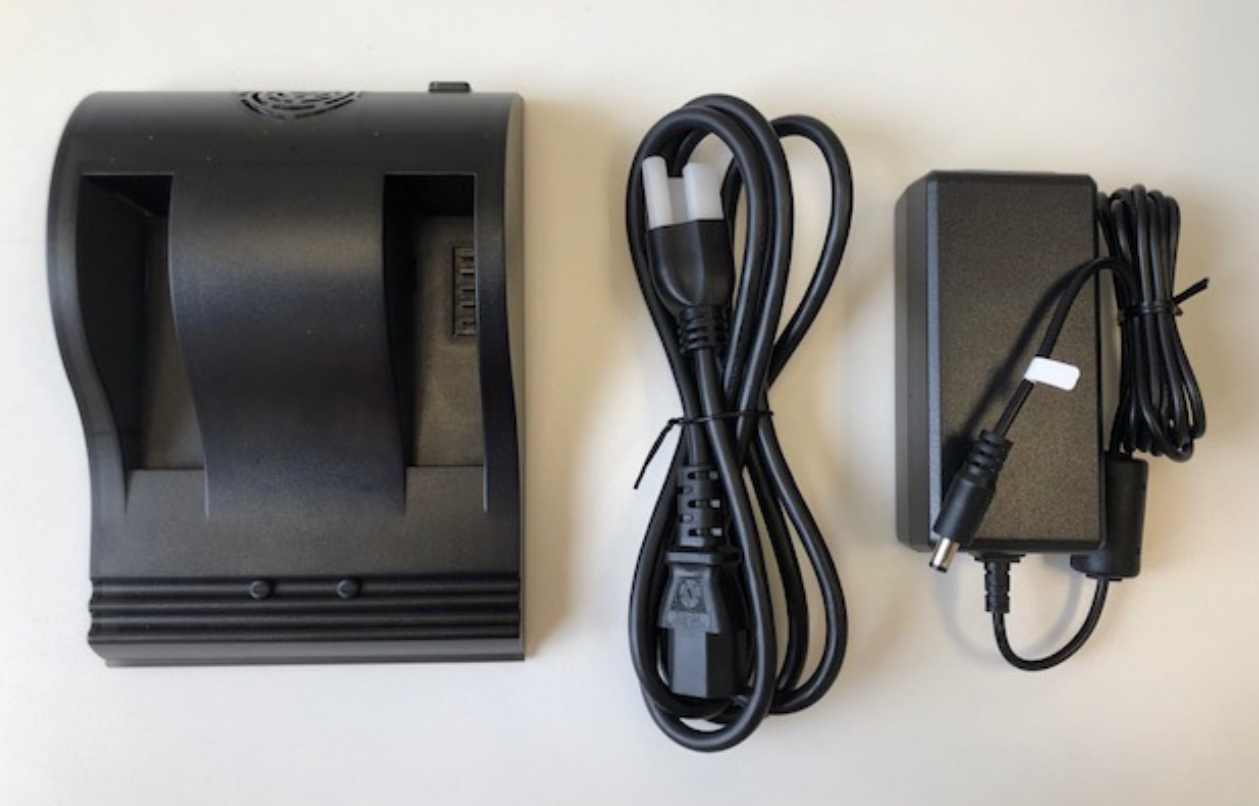
Connecting to Electrical Grid
To power up the scanner from the electrical grid, use the cables and the power supply unit (see What’s Included) as shown below.
|
|
|
|
|
|
|
|
|
|


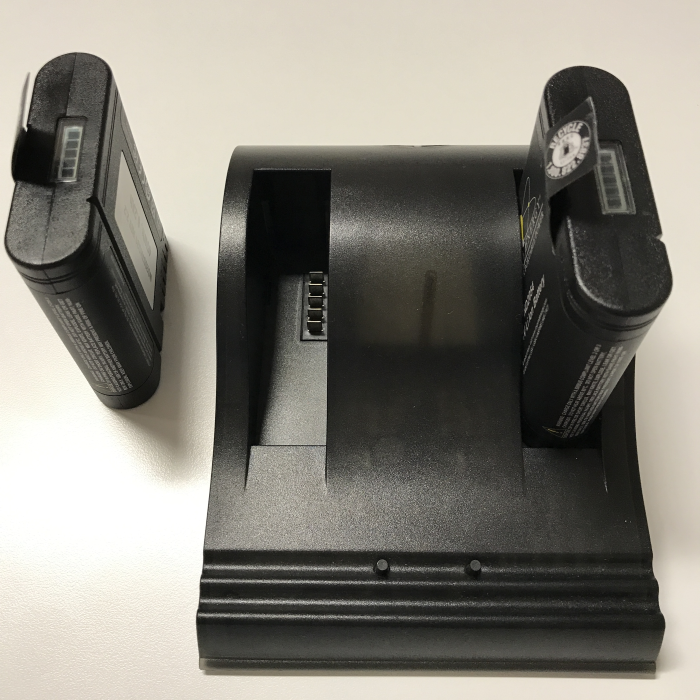
Battery Power Supply
If you want to achieve greater mobility when using the scanner (without power cables), you can use the batteries in the kit to power the scanner.
Charging Batteries
|
|
|
|
|
|
|
Installing Battery
|
|
|
|


Removing Battery
|
|
|
|

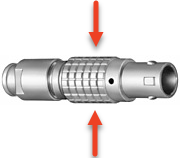
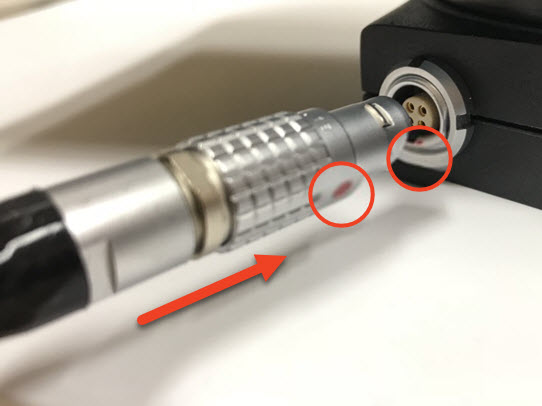
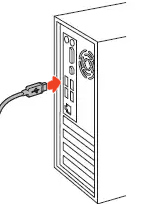
USB Connection
Important
If you intend to use a wireless connection (for the Artec Remote app), don’t perform the steps below. Wi-Fi connection is not available if the cable is plugged into the scanner’s USB port.
To make Ray work together with Artec Studio, you need to connect the scanner to your computer via USB cable.
|
|
|
|
|
|
See also
Installing microSD Card
Use a microSD card to store scans when using either Artec Remote applications or autonomous mode (see the procedure.
|
|
|
|
|
|

Important
If the SD card is larger than 32 GB, ensure it is formatted as an NTFS volume.