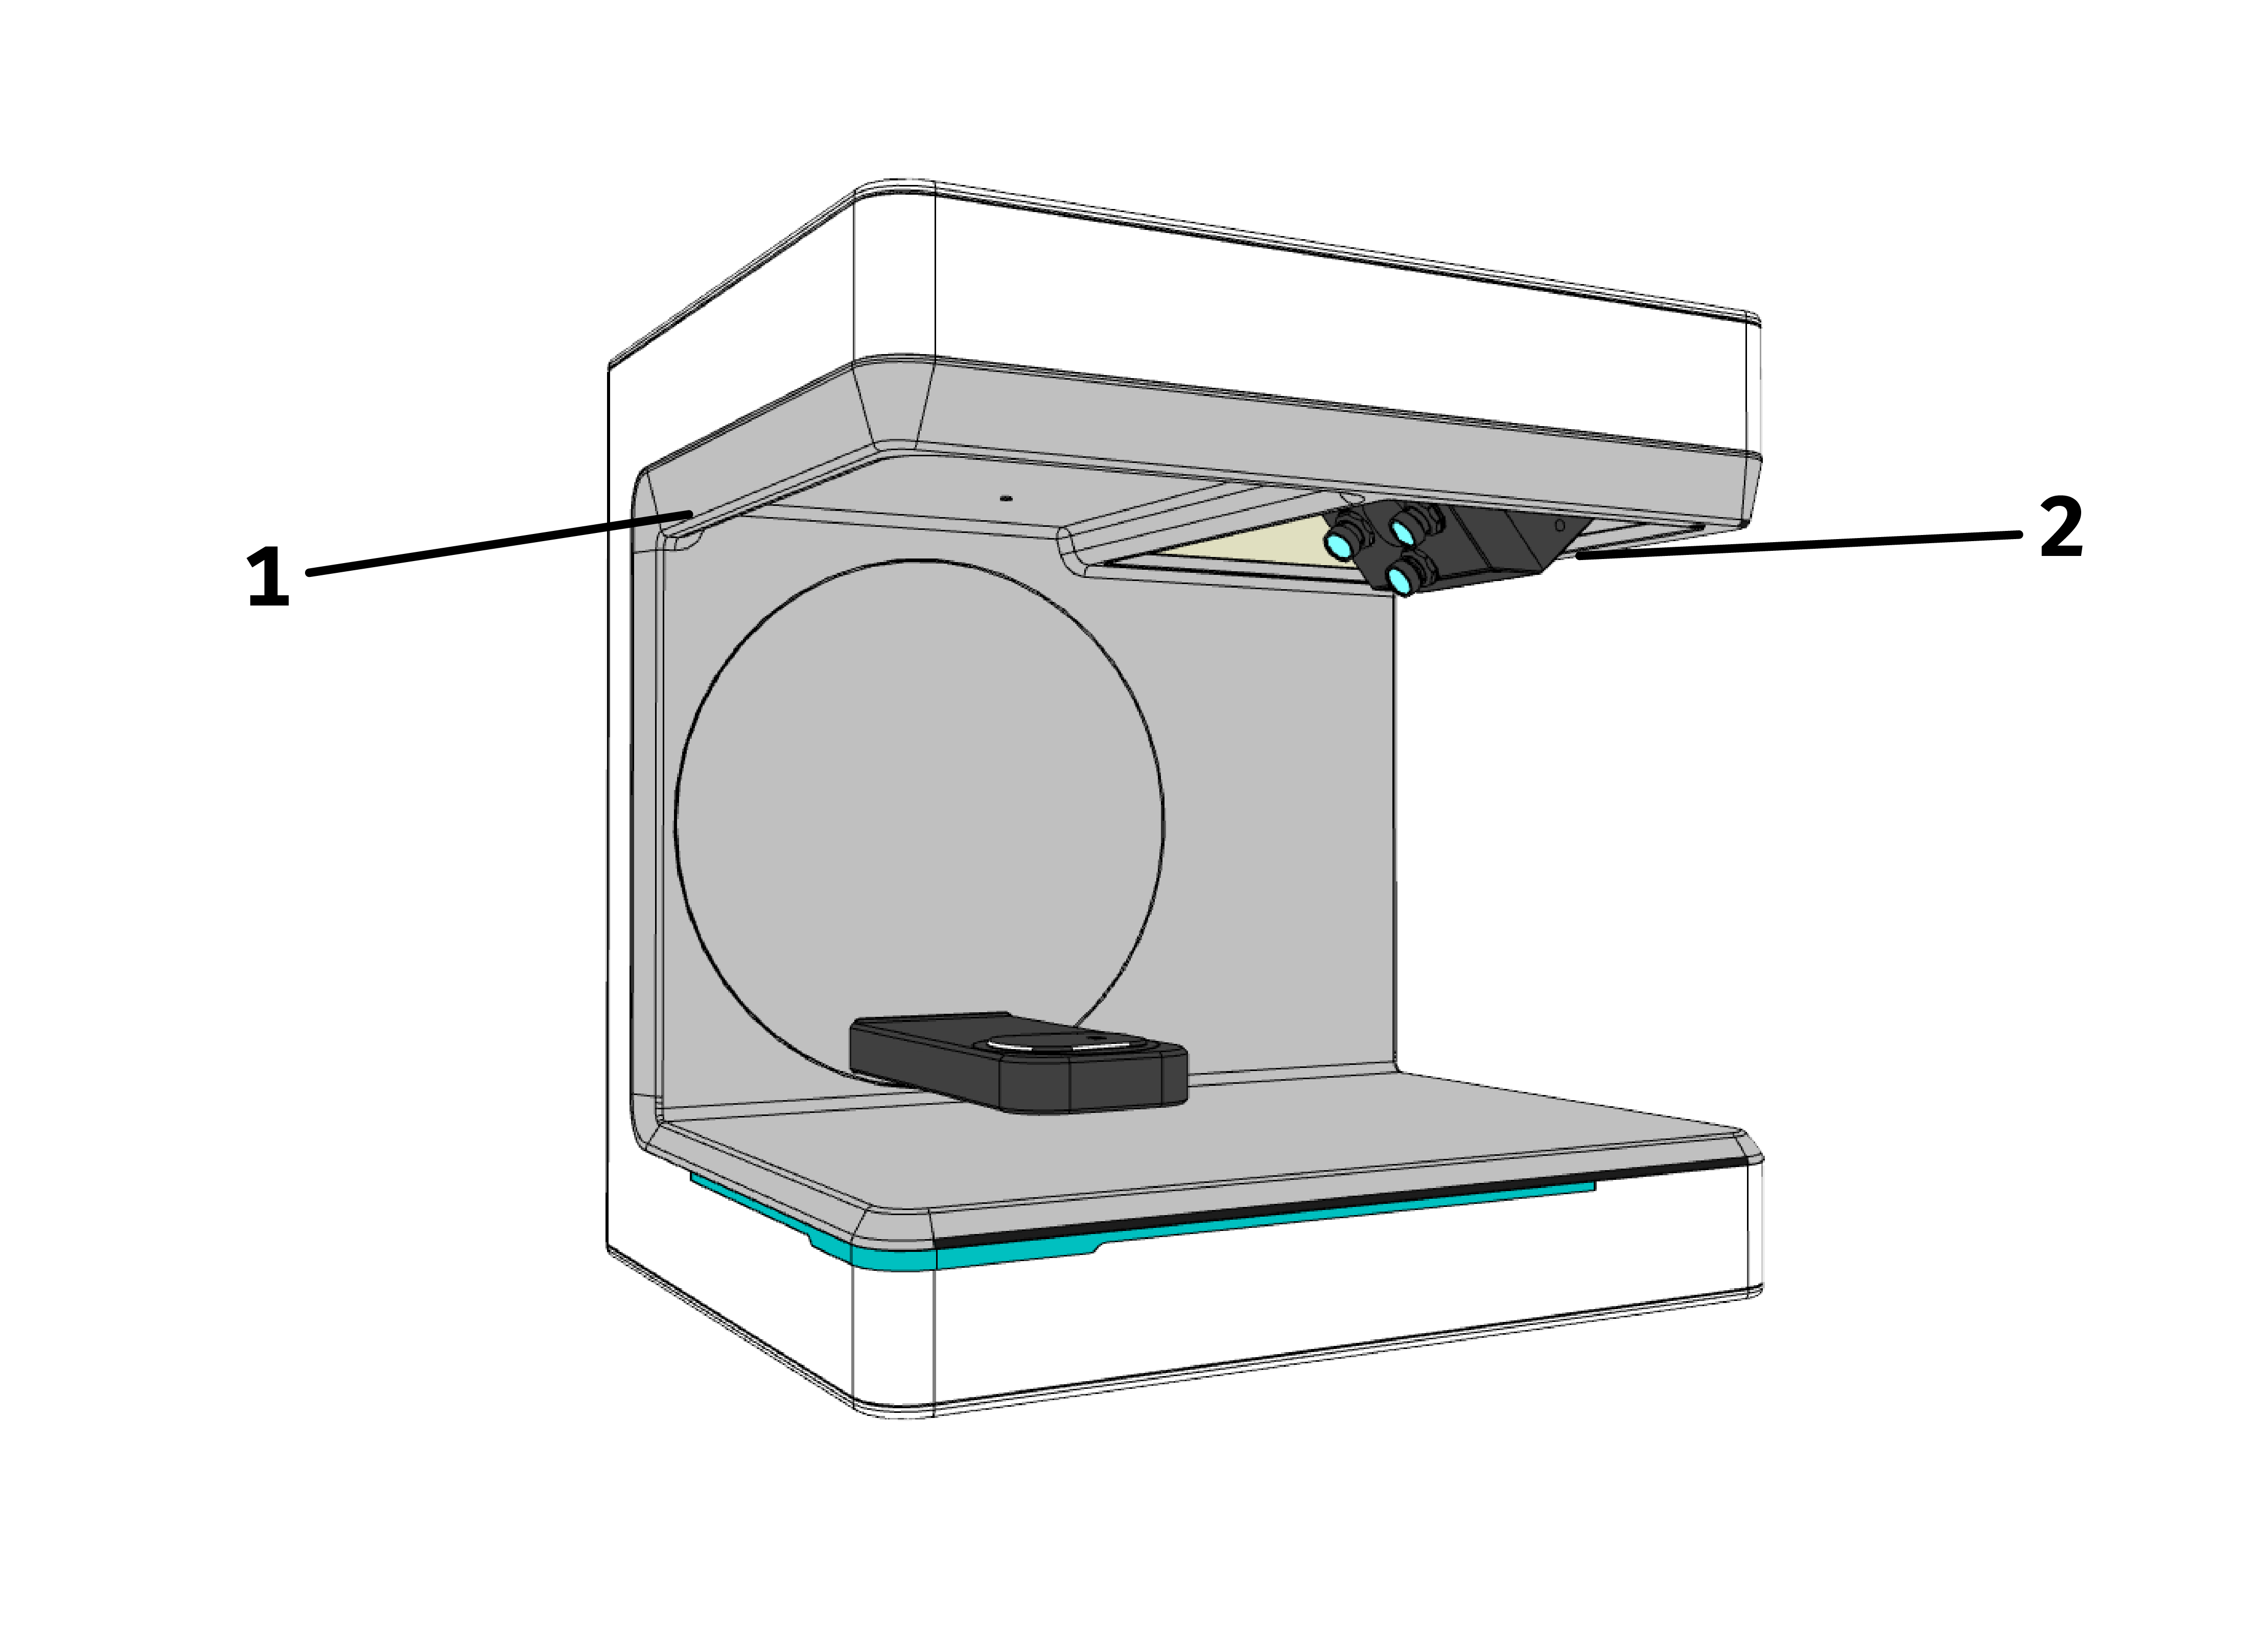
Setting Up Micro II
Unpacking
Open the top of the box with Micro II
Remove the top foam cover with the optional accessories
Hold the scanner by the two recesses (see Figure 3) and pull it out of the box
Remove the fixation for the arm
The scanner weighs 11-13 kg and can be carried by one person. However, be very careful. The open side of the scanner should face away from the body.

Figure 3 Carrying points
Warning
Save the packaging for future transport (relocation, service, etc).
Choosing Location
Since the environment of the scanner has a significant influence on the product,you should be careful when selecting its location and observe the following:
Avoid rapidly changing lighting conditions such as moving shadows, office lighting that flickers (fluorescent lamps, LED etc.).
Never expose the scanner to direct sunlight.
Avoid direct proximity to heat sources (e.g. radiators, other electrical appliances, fire replaces, etc.).
Ensure that the installation site is level and vibration-free.
It must be ensured that there is no extraordinary exposure to dust, poisons or corrosive gasses at the installation site.
Select a mounting or installation location where liquids or objects cannot get into the scanner under any circumstances (e.g. condensation, roof leaks, watering water, etc.).
Ensure that the mains plug of the power supply unit is always accessible. The scanner may only be operated indoors.
Setting up Workspace
The following figure is merely a schematic representation intended to provide an illustration of the overall system. Pay attention to an ergonomic arrangement as well as to the minimum distances for the scanner as shown (red).

Figure 4 Setting up workspace
Desk
Artec Micro II scanner
Computer screen
Keyboard
Desk chair
Computer mouse
PC/Laptop
Note that the power supply unit may only be connected to a socket with protective contact. The cables should be laid along walls.
To ensure the safety and productive work with scanner, please note the following:
Use our provided USB cables. If you choose to use your own cables, please ensure they support a data throughput rate of 5-10 Gbit/s.
Place the scanner on a safe and stable surface, where it won’t be accidentally pushed away or damaged by other objects or people. Don’t block the vent exhausts.
Keep adequate distance between scanner and other objects, sources of heat, persons to maintain safety during the scanner work.
Avoid placing any objects on the top of the scanner. Any objects inside the working area are allowed only duly affixed on the holder and only within the approved dimensions.
Ensure that the object is properly fixed and won’t cause damage during the scanning process.
Do not place your hands inside the working area while the scanner is operating to prevent any personal injury and damage to the mechanism and objects. Make sure the scanner is not performing any work or switched off before accessing the working area.
Install Software
Artec Micro II requires Artec Studio 18 (and later) software which allows it to scan and process scanned data. Artec Studio 18 (and later) should be purchased separately, to obtain software, contact Artec 3D Sales Team or Authorized Reseller at sales@artec3d.com Note that an Internet connection must be available to download and license the software.
You must install drivers for Micro II before connecting it to your computer.
Open my.artec3d and download Artec Installation Center.
Install Artec Installation Center on your computer and launch it.
Caution
Ensure that Micro II is disconnected from your computer.
Click Install near the Artec Studio label as the Artec Studio manual describes.
Select the Artec Micro II drivers.
Finish installation.
Connect Cables
Plug the power-adapter cable into the scanner’s 24V power supply port located in the rear side of Micro II.
Plug the other end of the power-adapter into a power outlet.
Insert the USB Type-C cable into scanner’s USB Type-C port.

Figure 5 The rear side of Micro II.
Connect the other end of the cable to a USB 3.0 port on your computer.
Hint: USB 3.0 ports often have blue inserts.Turn on the computer.
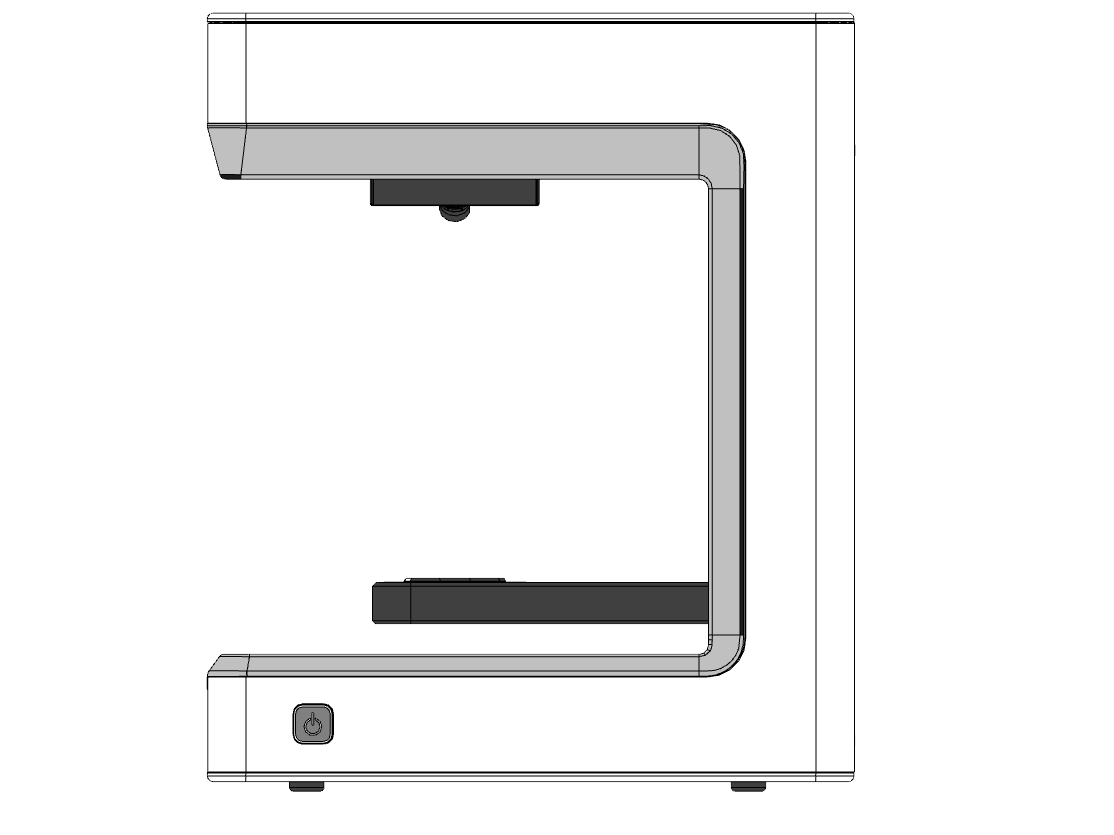
Toggle the power switch to turn on the scanner.

Figure 6 Micro II side view with the power switch.