Calibration
Calibration is the process of checking and adjusting a scanner’s measurements by comparing them with the standard (etalon) values. All Artec Leo scanners are delivered pre-calibrated and issued with a calibration certificate (2022 onwards).
However, In some cases, owing to careless handling or transportation (jolts, accidental drops or some other reason), Leo may fail to produce best results. In order to resolve these issues, you can recalibrate your Leo.
Leo Recalibration
To recalibrate your Leo, you need a Calibration Board.
Step 1: Calibration board setup
Open the case containing the Leo Calibration board and place it on a flat surface, preferably the floor.
Detach the lid from the case, but donot take the Calibration board out of the casing.
Avoid touching the board as it can damage the markings and tamper with the calibration results.
Important
It is advised to handle the Calibration board with utmost care. Perform calibration while keeping the board inside its casing always.
Step 2: Preparation
Turn on Leo, and if calibrating for the first time, make sure it is connected to Wifi.
Note
Subsequent recalibrations can be performed even without internet, as Leo caches the board file. In the upcoming releases, it will be possible to download the board file from your MyArtec account as well.
Go to Settings → Scanner → Advanced, and select the Recalibration option. The following screen displays the recommended environmental conditions for recalibration.
Make sure the ambient temperature is around 20-23 degrees Celsius, and there is no direct sunlight in the room. Click on Start.
Scan the QR-code on the Calibration board, and wait.
The next screen is the warm-up screen that indicates the time required to warm Leo up to its optimal temperature range (~30 minutes). Keep Leo ON, and wait while Leo warms up.
Note
To obtain precise results, it is essential to warm up Leo to its optimal working temperature before recalibration. DO NOT skip this step.
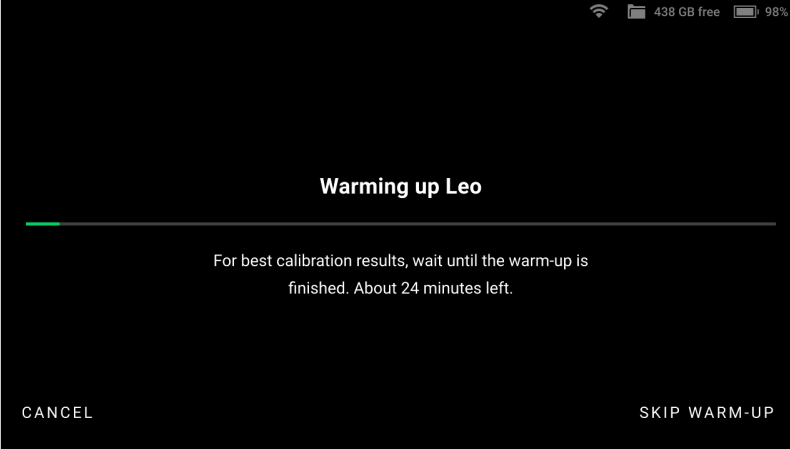
Figure 38 Leo warms up to its optimal working temperature.
Step 3: Calibration
After Leo warms up to its optimal temperature, the scanning screen opens up.
If there is no Calibration board in the field of view, Leo displays the screen as shown in Figure 39. In this case, simply point Leo to the Calibration board to open the scanning screen.
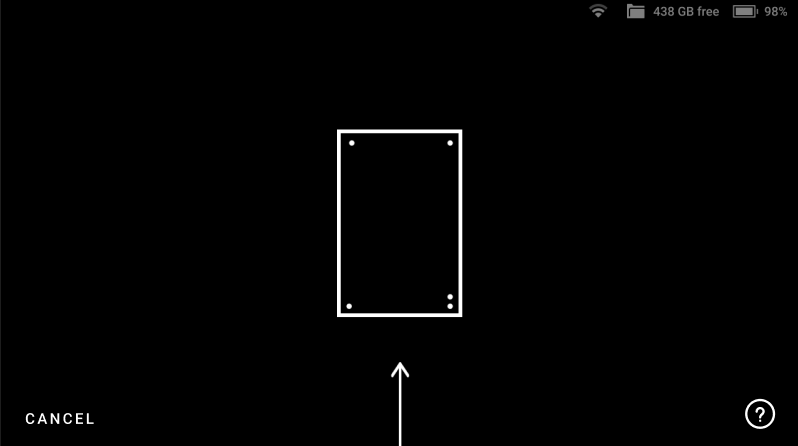
Figure 39 Leo’s screen when there is no Calibration board in its field of view.
Hold Leo within the distance range of 66.5 cm - 106.5 cm from the calibration board, throughout the scanning procedure.
Point Leo to the Calibration board and start scanning (See Figure 40). There are multiple trajectories you should cover with your scanner, to perform recalibration.
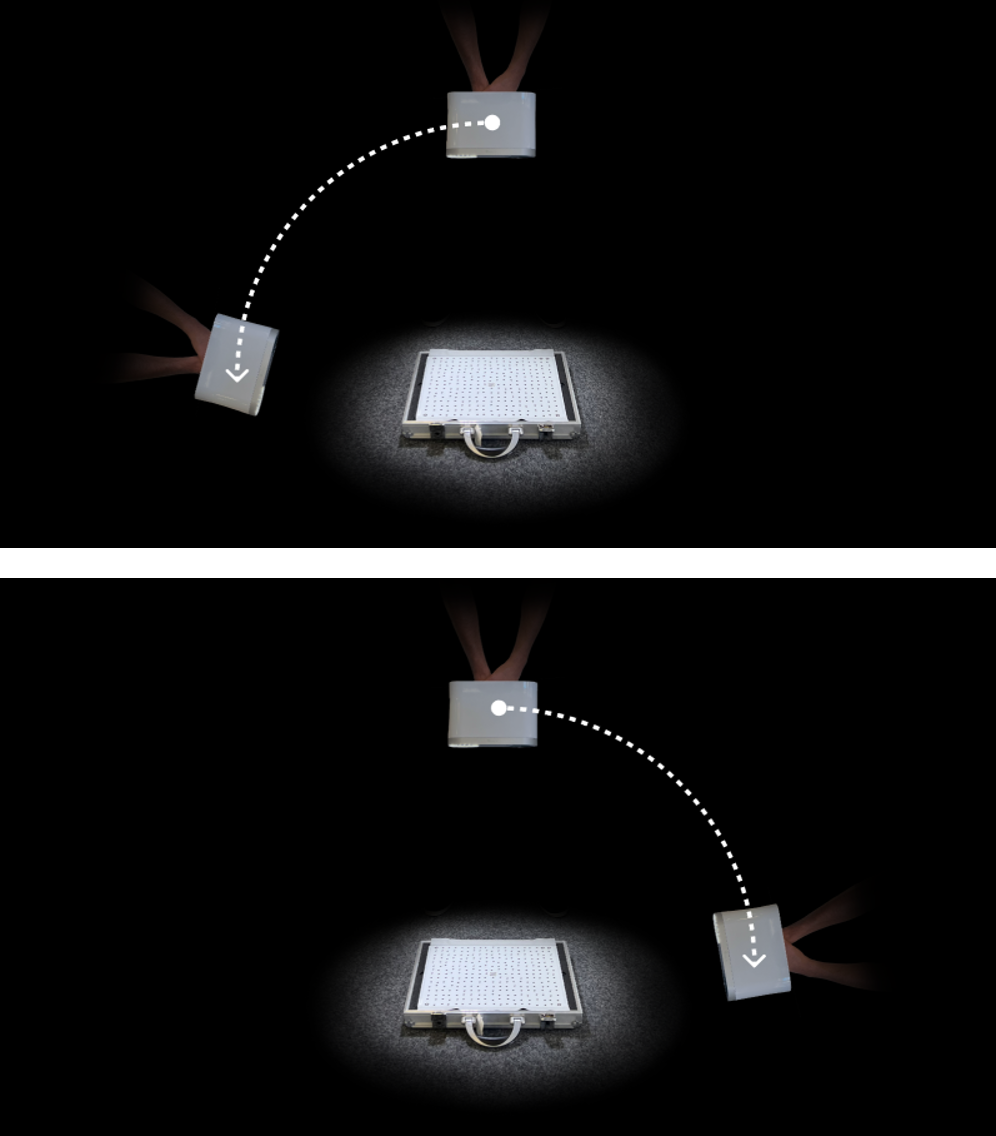
Figure 40 Trajectories of scanning for recalibration.
The green dot in represents the center of the Calibration board, and the green circle represents the Calibration board, i.e. your field of view (See Figure 41).
The arcs represent the respective trajectories you will have to follow during scanning.
To capture data, first align the green dot with the intersection of the arcs.
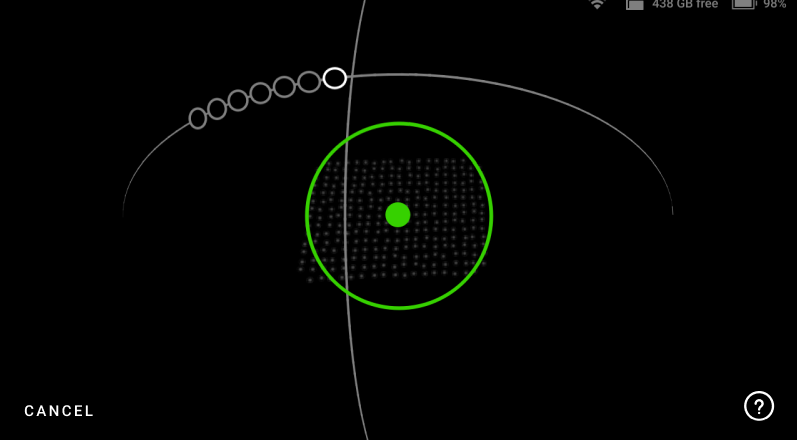
Figure 41 Green dot represents center of the Calibration board.
Important
Make sure the green dot stays inside the green circle (field of view) during scanning. A red dot indicates that the scanner is out of the field of view.
Now slowly move the green dot to the first circle on the arc, and glide Leo following the trajectory, from one circle to another such that the green dot overlaps each circle.
As you move along the arc trajectory, the circles will turn green, indicating that the data has been captured. Scan until all the circles turn green.
Similarly, scan the board following all the subsequently displayed arc trajectories on Leo.
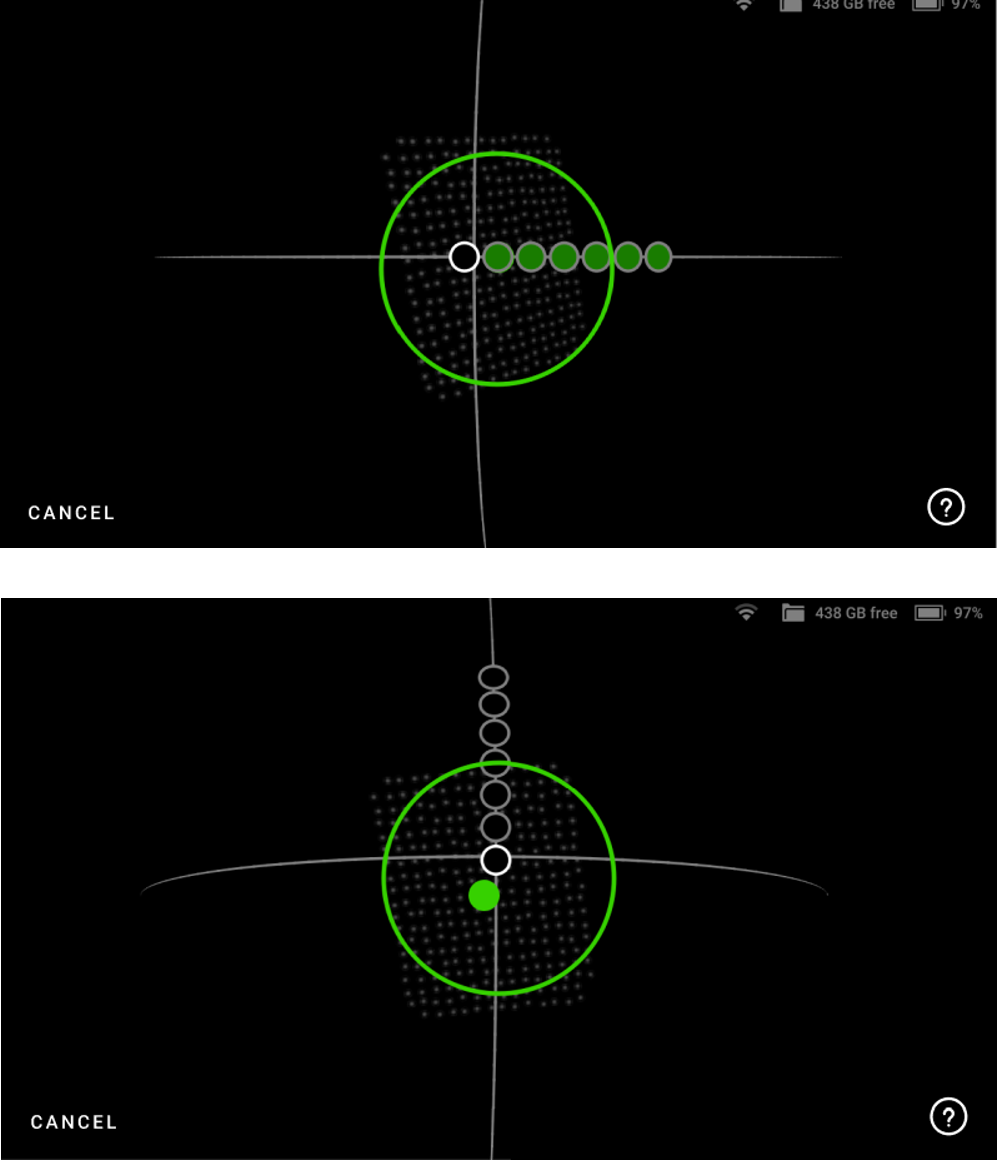
Figure 42 Move the scanner along the trajectory until all circles are green.
Lastly, you need to hold Leo over the Calibration board, and move it perpendicularly forward and backward, along the z-axis (See Figure 43).
Scan in this manner, until all the white circles turn green.
Maintain the recommended distance between the ‘calibration board’ and scanner at all times. If the scanner is too far from the board, Leo will display an error on the scanning screen Figure 43.
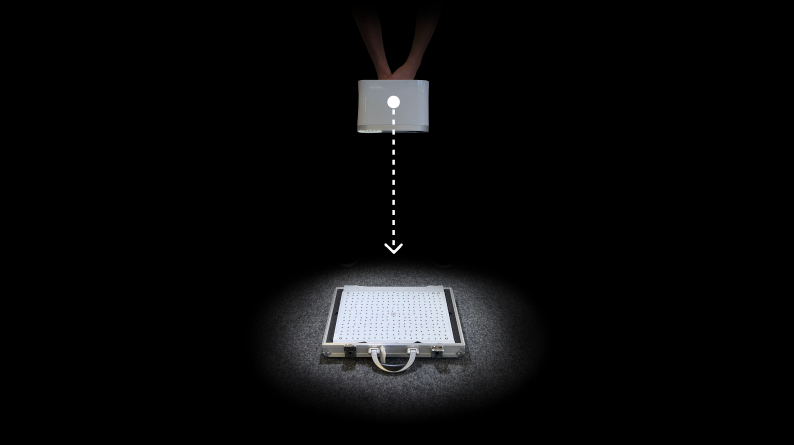
Figure 43 Forward and backward scanning of the board.
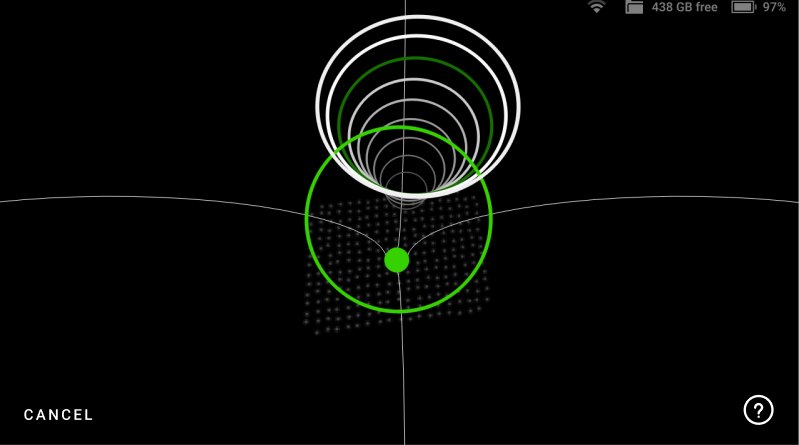
Figure 44 Move the scanner along the trajectory until all circles are green.
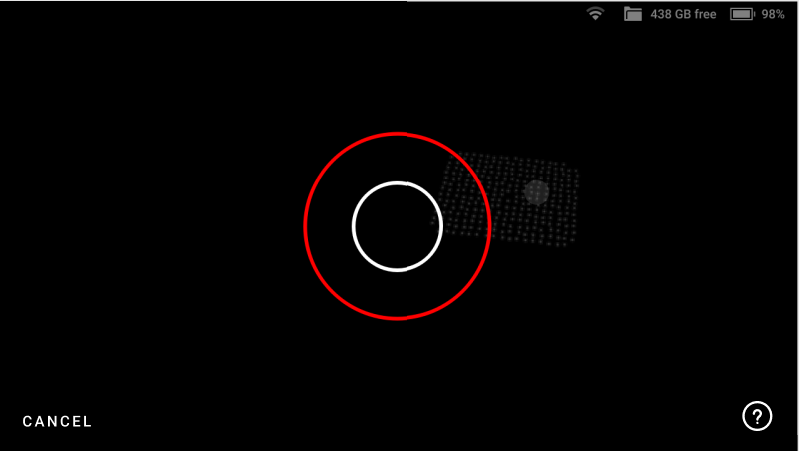
Figure 45 Red circle indicates a distance error.
Step 4: Result
After capturing data from all three positions, Leo will proceeds to calculation and processes the calibration.
Leo will display the recalibration result. Click on Done, and you have successfully recalibrated your Leo.
If for some reason, the recalibration was unsuccessful, repeat the process from the beginning or ask for support.
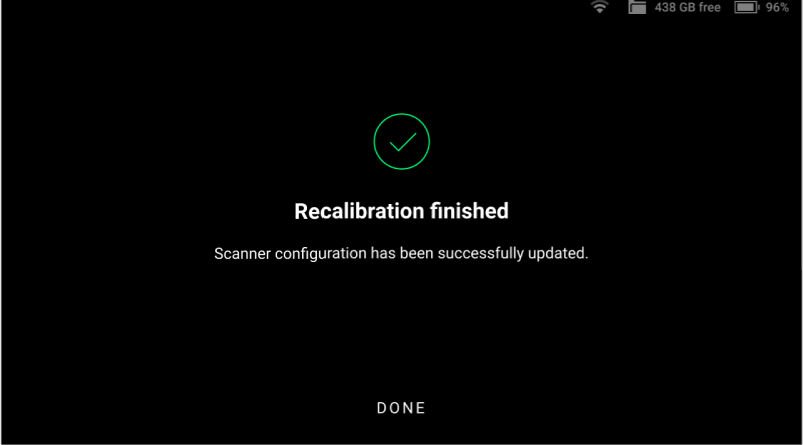
Figure 46 Leo screen displays the calibration result.