Working with Data
Inserting/Removing USB data storage device
To insert and remove the USB data storage device,
Open the USB compartment at the bottom of the scanner.
Note
To insert the USB data storage device, hold the USB data storage device with the Artec logo facing to the right. Slide it into the USB slot until it clicks into position.
Do not force the USB data storage device into the slot.
To remove the USB data storage device, slide the USB data storage device out of the USB slot.
Close the USB compartment.
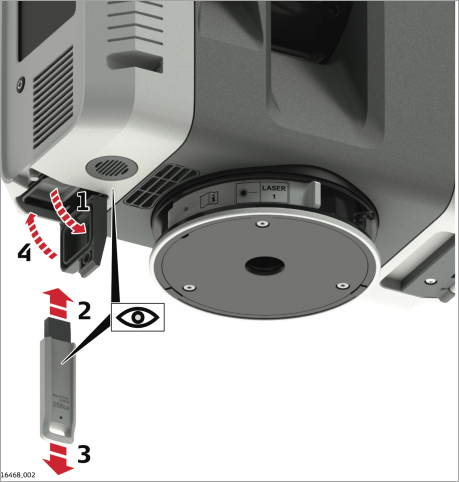
Figure 1 Inserting and removing the USB data storage device.
Data storage concept
Data is stored on an exchangeable USB data storage device. The scanner comes with two USB sticks (exFAT formatted) which fit into the USB slot of the scanner.
The USB stick is used to transfer data from the scanner to external computers. All data recorded by the scanner and all meta data created by the field app on the remote tablet is stored on the USB stick.
Integration with Artec Studio 18
The data acquired from Artec Ray II can be viewed and processed in Artec Studio 18, which must be purchased separately from the scanner.
Once you purchased Artec Studio 18, you need to install it:
Open my.artec3d and download Artec Installation Center
Install Artec Installation Center on your computer and launch it
Download Artec Studio
Install Artec Studio as Artec Studio manual - Install section suggests.
Once you’re done, you can proceed to the setting up the scanner.
Importing data to Artec Studio 18
To import Ray II scans, use the File → Import → Ray II menu option. Next, select a Ray II project (*.artec) file . You can also drag and drop a file into the main Artec Studio window.
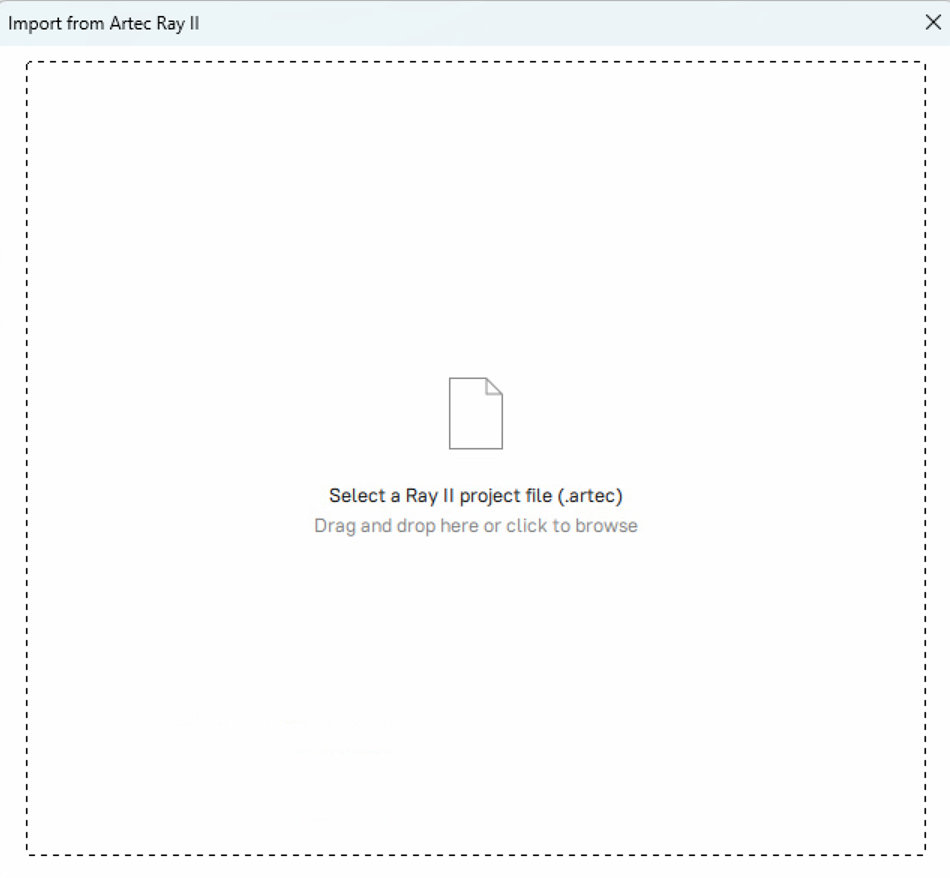
Figure 2 Dialog for selecting Ray II project file to import.
Now, mark the checkboxes of the desired scans to import, and then click Import button.
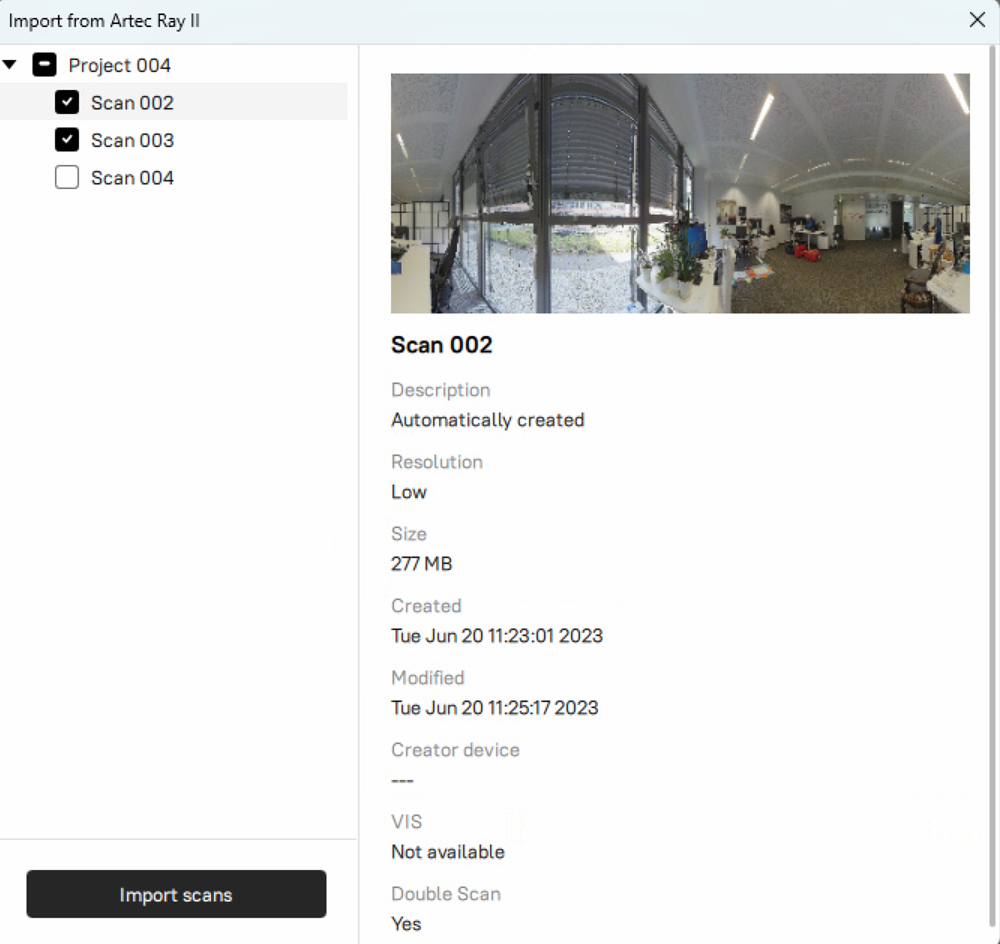
Figure 3 Dialog for importing Ray II scans from the selected project (*.artec).
Note
Wait until all selected scans are imported. Imported scans will appear in the Workspace panel.
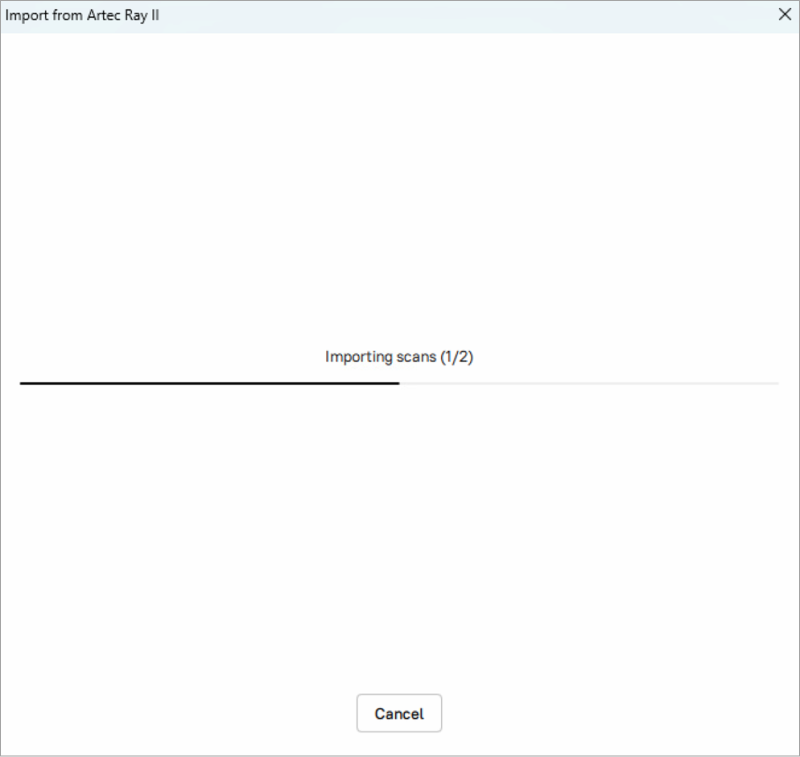
Figure 4 The progress indicator for imported scans.
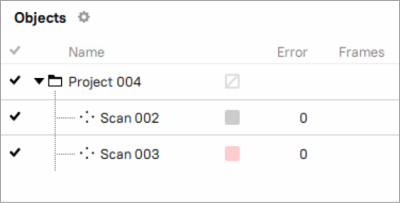
Figure 5 Imported Ray II scans in the Workspace panel.
For the details regarding post-processing data, please refer to the Artec Studio manual.