First Steps with Leo
Setting up Artec Leo is easy and includes the following steps:
Turn On
Take Leo out of the case and place it vertically on a flat rigid surface.
Press the power button button near the screen (see Meet Leo, 3).
If the scanner hasn’t booted up, try plugging it to the power adapter.
Note
When you turn on the Leo scanner later after its activation, you may be prompted to enter a password. This happens if storage encryption has been previously enabled.
Plug In Power Adapter
Get familiar with the safety recommendations.
Plug the Leo DC-cable into the round port on scanner base.
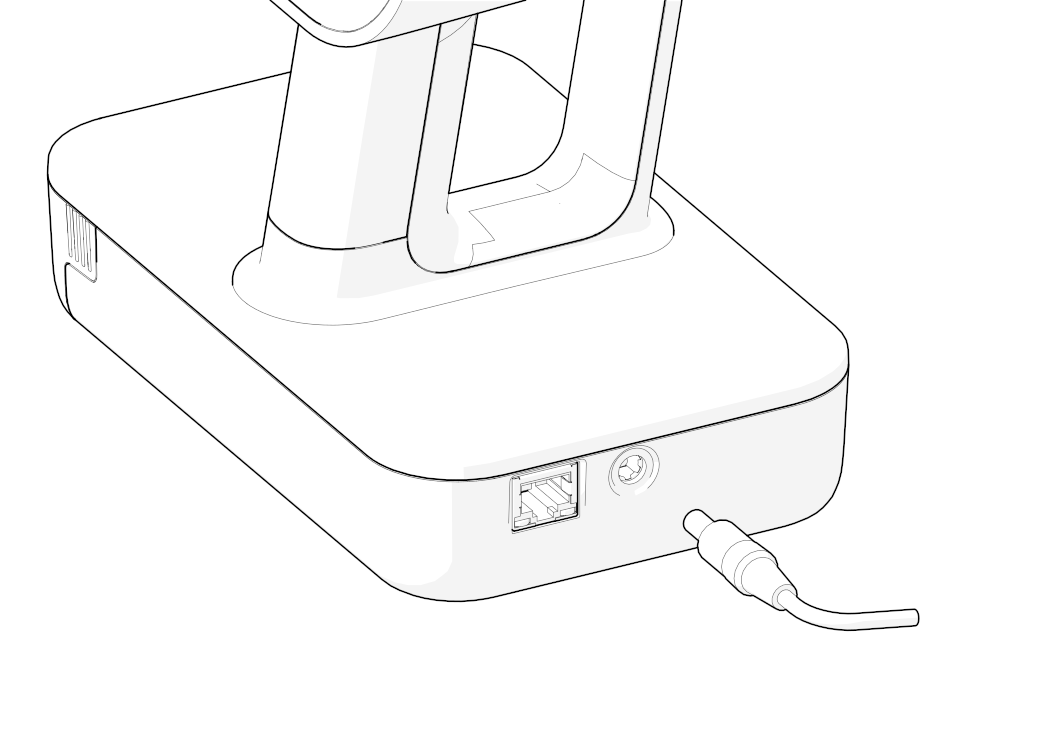
Caution
Never use DC cables and adapters designed for other Artec scanners (Eva, Spider, etc.)
Connect the power cord to the power adapter.
Plug the power cord into the power outlet.
Read License Agreement
Once the scanner is turned on, it will show the greeting screen with the license agreement. Read it carefully and, if you agree to the terms, Accept it.
Connect to the Internet
The initial Leo activation requires an Internet connection; afterwards, you can use the scanner offline.
Wi-Fi
To connect to a Wi-Fi network,
Wired Connection
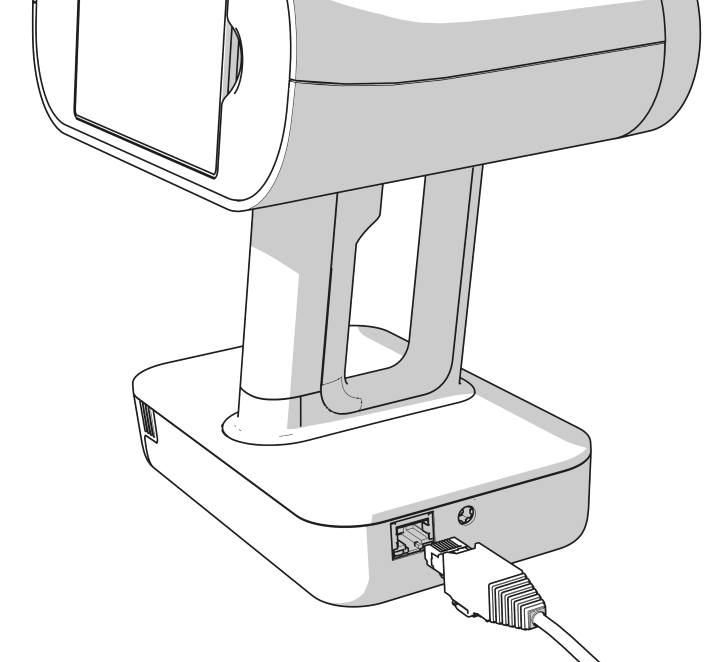
To create a wired connection, plug the Ethernet cable into the scanner as the figure depicts. If the network is configured as DHCP, the connection will be established automatically and icon  will appear in the top status bar.
Activate Leo
To activate your Leo, you need a valid account at my.artec3d. Use the account your Artec reseller registered for you, or create a new account using either a mobile device or a computer.
In the Network screen, tap Next.
Enter your email for my.artec3d.
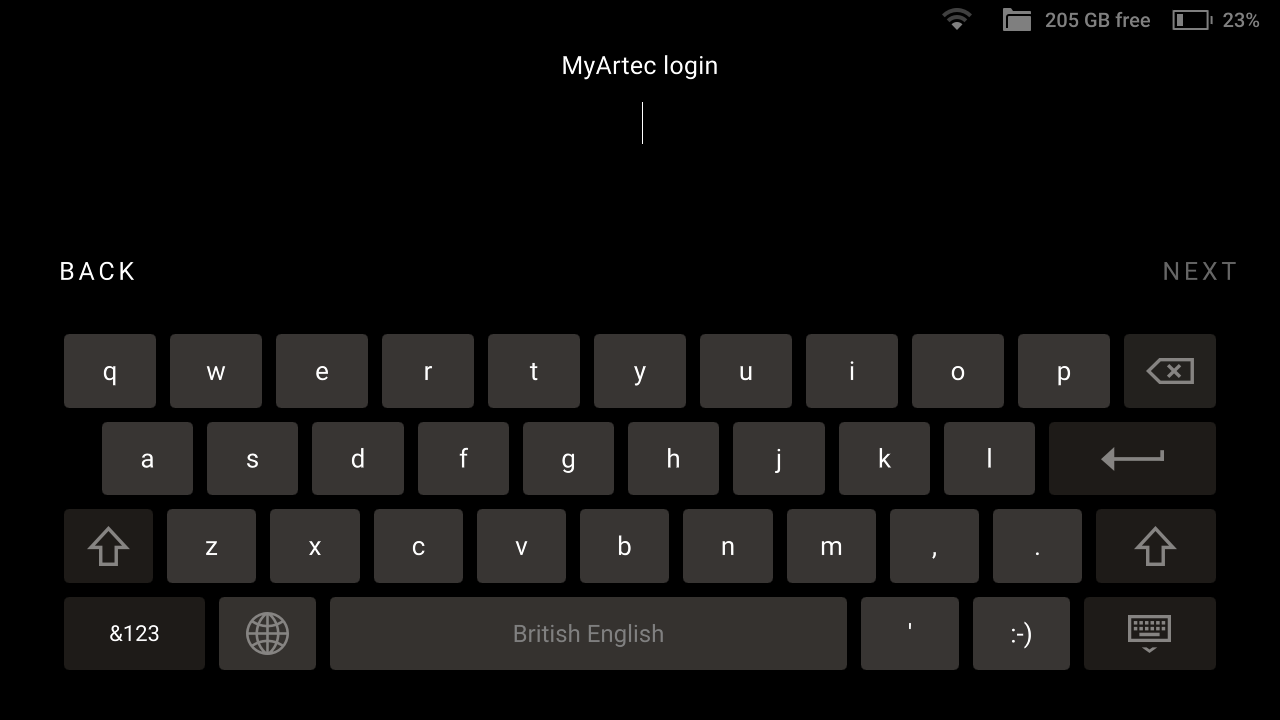
Tap Next.
Enter your password and tap Next.
In the new dialog that appears, enter a name for your Leo.
Tap Done.
Your Leo is now ready for operation.
Apply Serial Number Sticker
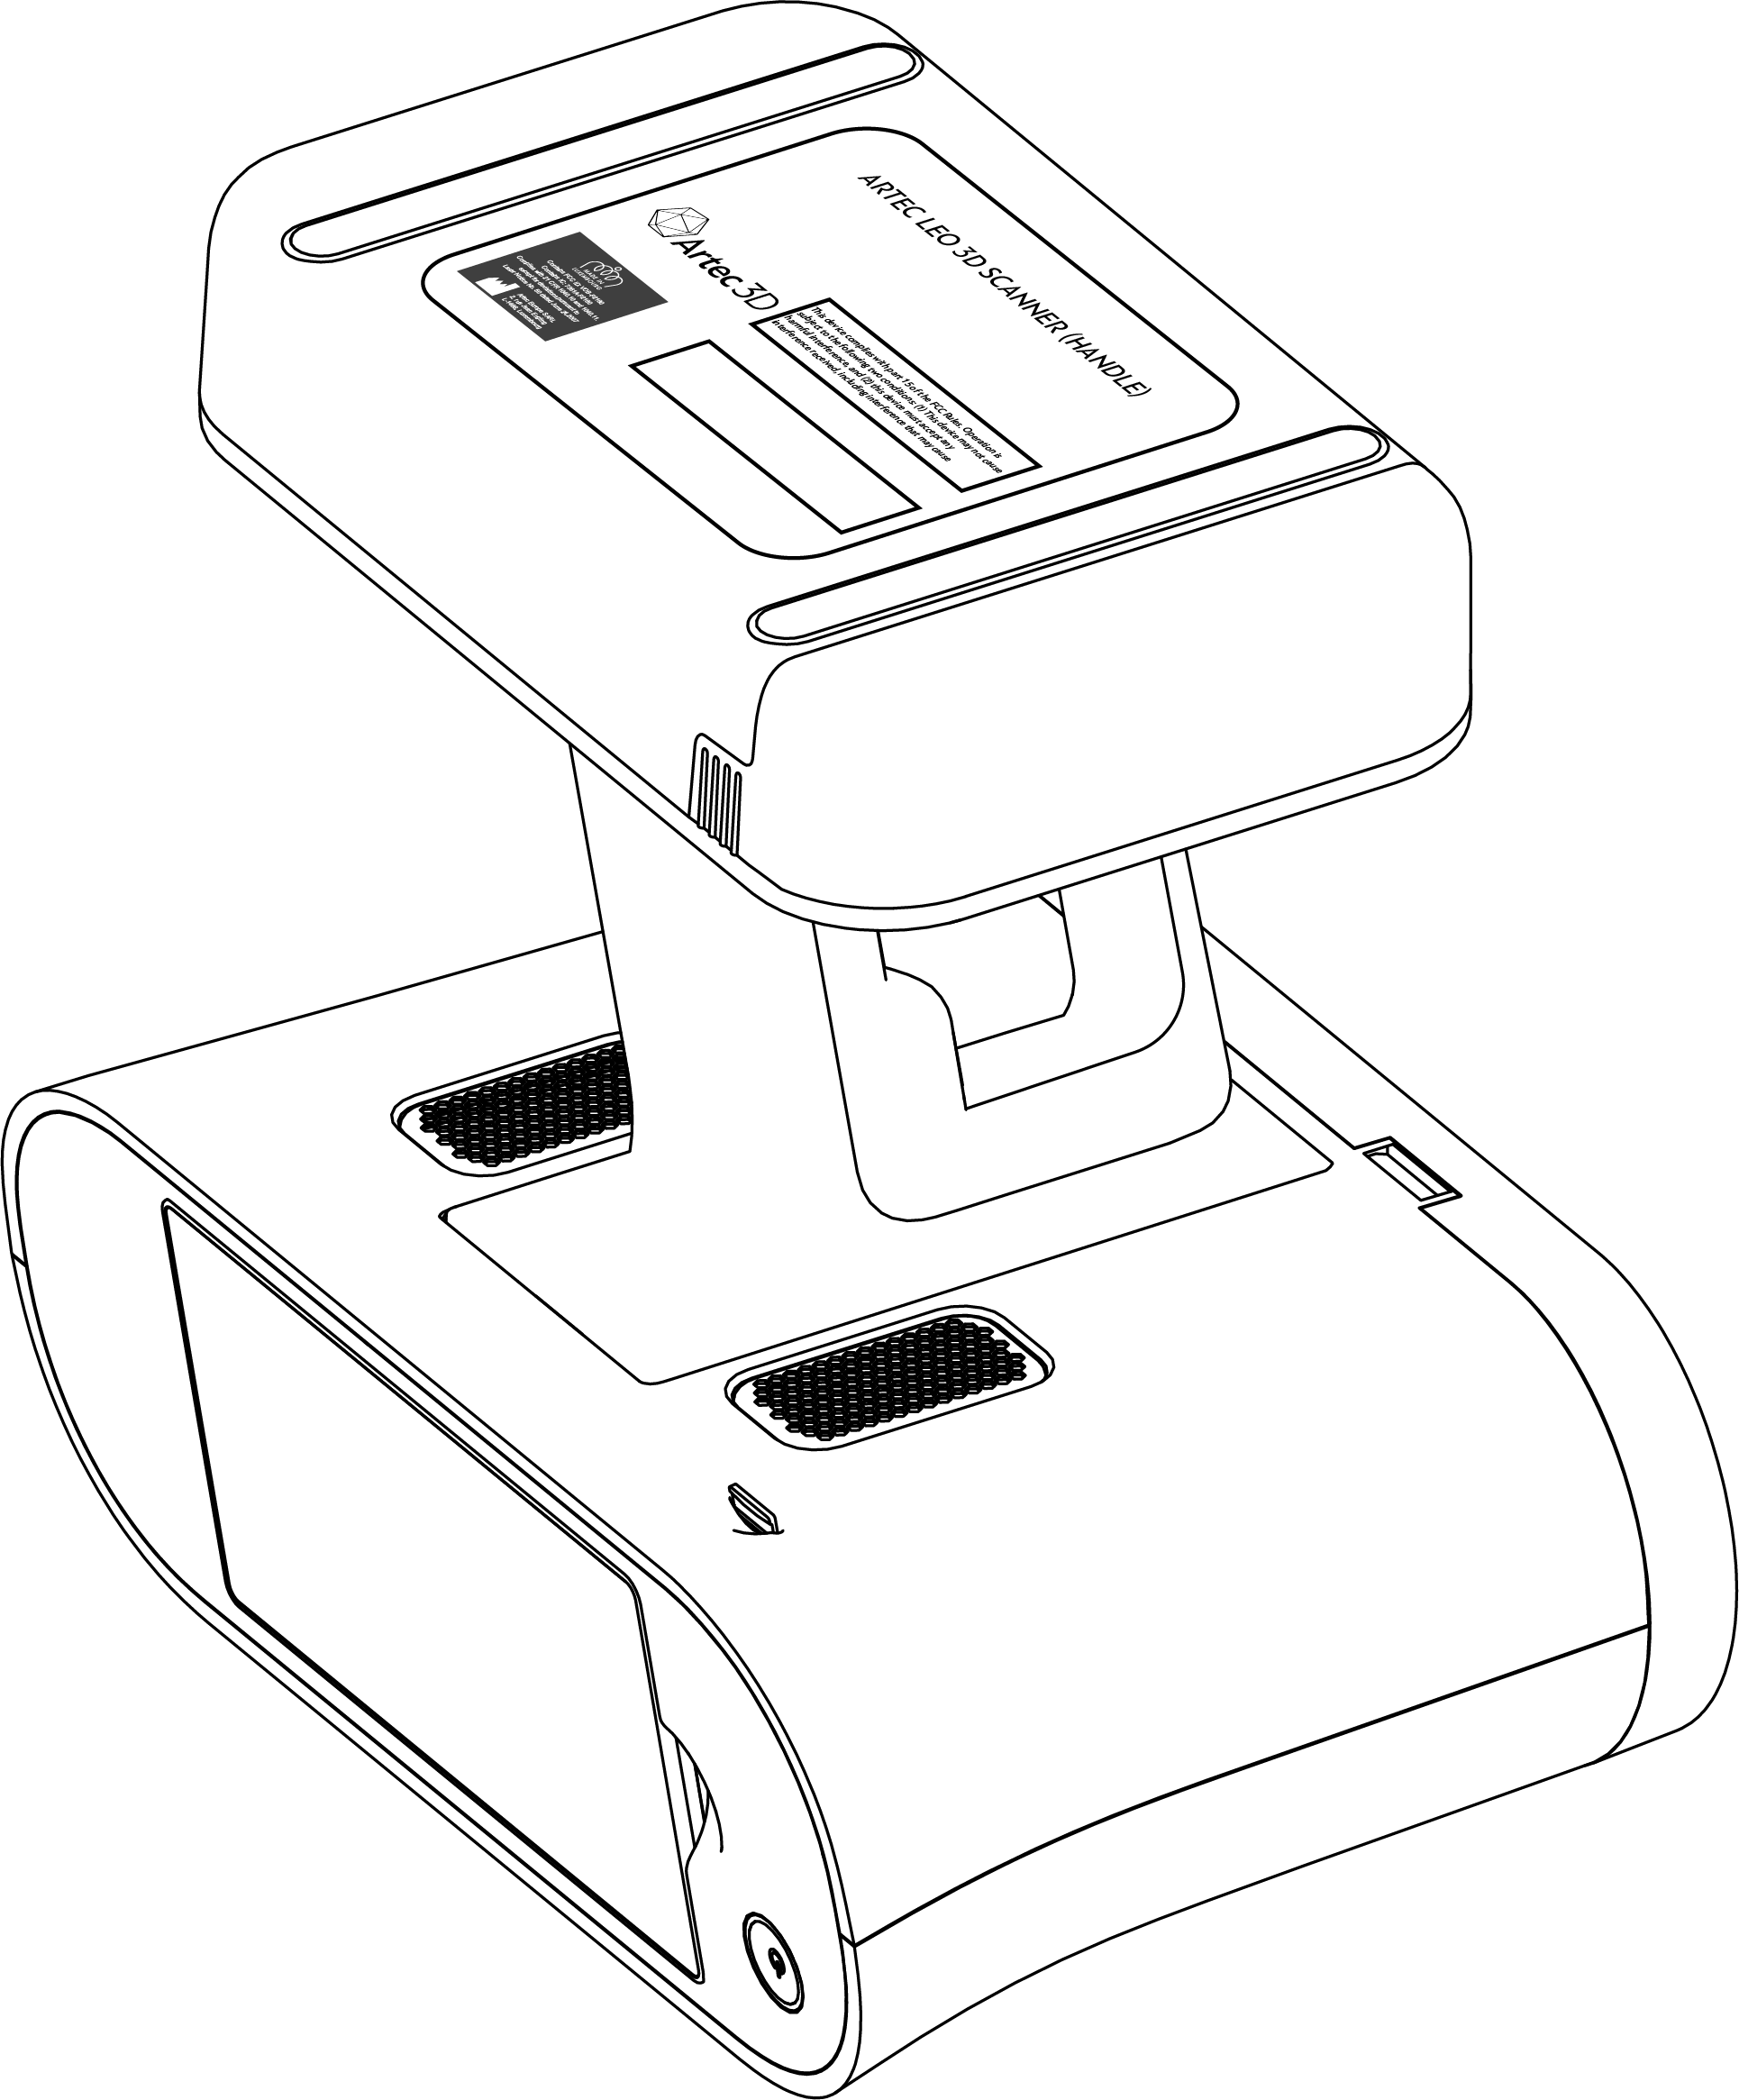
The envelope that comes with Leo scanner contains the serial number sticker. Place it on the underside of your Leo battery housing.
Before You Start
Before using the scanner, remove the protective film from the front panel. Scanning with the film attached may affect data quality.
Select Artec Studio Version
Some new features of Leo may be incompatible with older versions of Artec Studio. To prevent situations where Leo project is not supported by the currently installed version of Artec Studio, Leo will show the modal for selecting the Artec Studio version on the first launch.
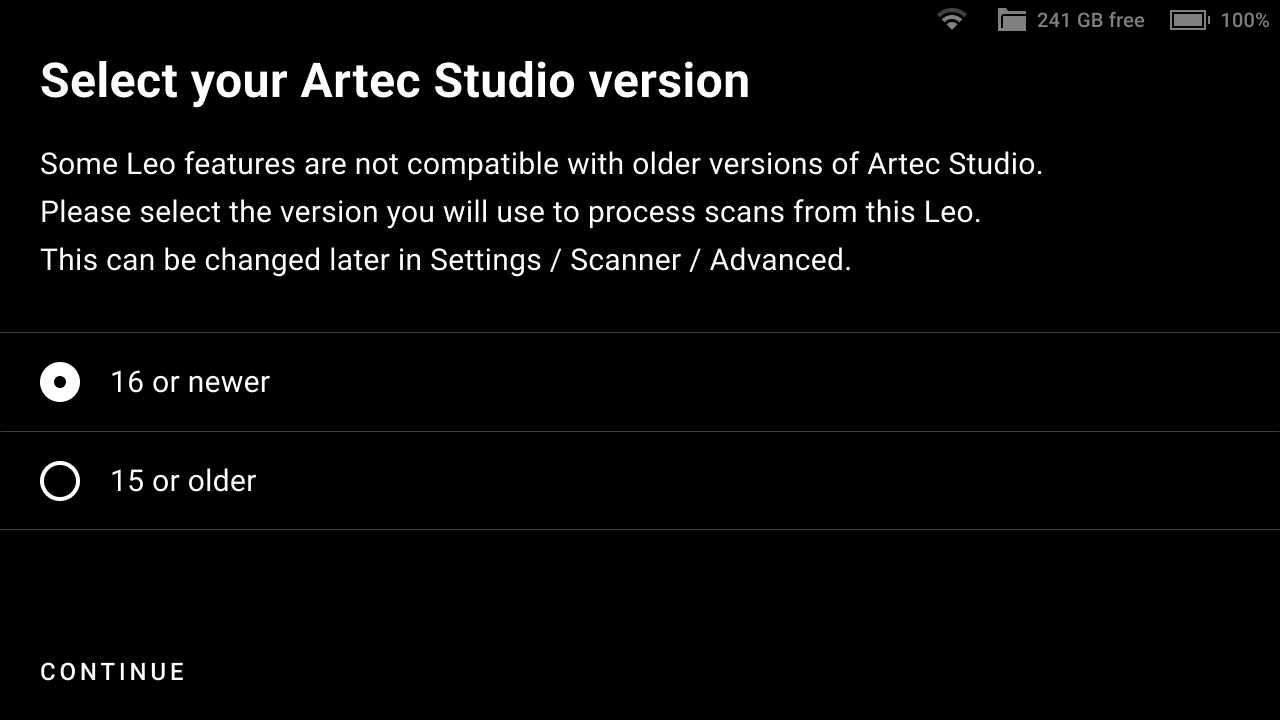
Figure 1 Select Artec Studio version on your first launch.
You can switch to a different version of Artec Studio later in the Settings → Scanner → Advanced under Artec Studio version section.
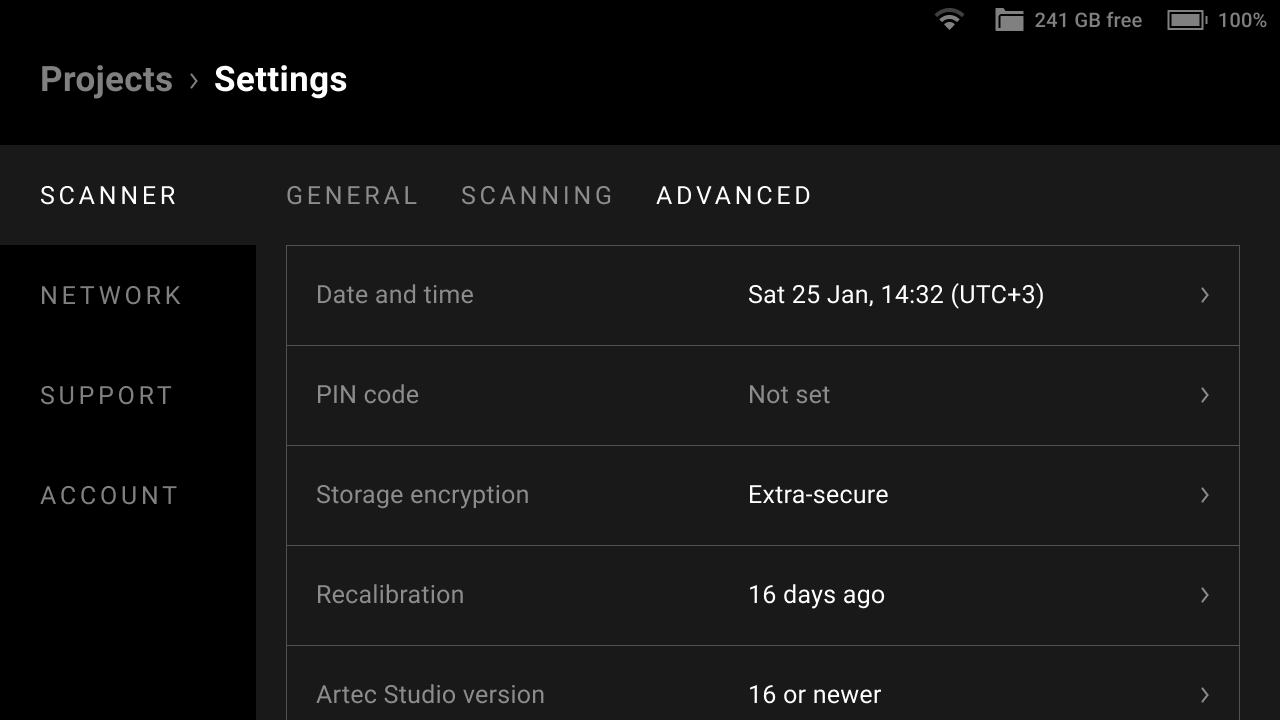
Figure 2 Change the Artec Studio version in the Advanced Settings.
